Stuff A Turkey

Although you may have forgotten, what with all the Christmas decorations crowding the stores already, Thanksgiving is rapidly approaching. And I could think of no better way to prepare my household for one of my favorite holidays than a little stuffed turkey. Okay, so it's not a real turkey, its a crafty little stuffed paper bird, but think of the fun you'll have putting it together. All you need to make this festive little guy is construction paper, a paper lunch bag, a pencil, kid safe scissors, and a glue stick. Oh, and I later discovered you need newspaper and maybe some packing tape (not pictured).

materials

First have your child trace his/her hand onto various colored construction paper. The hands will be the turkey's feathers so we used yellow, orange and red. My four-year old son was really excited about this because it was something he could do all by himself.

Tracing

For the very observant readers, no he is not left handed, but insisted on tracing his right hand because he had a "boo-boo" on his left hand and didn't want to injure it further by spreading his fingers out. He traced his hand twice by himself (on yellow and orange paper) and the last time he asked if I would do it for him (on red). Then comes the fun part...cutting. We had the "scissors are for paper only" talk and my son assured me he knew how to use scissors, "cause" he does "all kinds of cutting practice at school." I RARELY let him cut, although as a kindergarten teacher, I know how important it is to let your child have experience with scissors before sending them to school. I'm just a little afraid of haircuts and clothes or household item cutting. I was a kid once too you know.

cutting

So I gave my son the scissors and let him go, at first he was just hacking away. He had good scissor grip, but if I hadn't intervened the hands would've had no fingers. I helped him hand over hand with the first couple hands, showing him how to slow down and try to stay close to the tracing line, and then just watched as he cut the last ones. (Helpful Hint: fold the construction paper in half before tracing and you will get double the amount of hands in less time). We cut 5 hands altogether. After all the hands were cut, we assembled the turkey head. I pre-cut a large peanut shape out of brown construction paper and let my son glue on a pre-cut beak. He drew on some eyes and cut his own gobbler, you know that red thing that hangs down by the beak (at least I think that's what that's called).

Turkey head

Look at that nice pencil grip! I know, always thinking like a teacher. If I wasn't a teacher, would I even pay attention to those things? Now it's time to assemble the bird. Open the paper lunch sack and stuff it with newspaper. You are now stuffing the turkey!

Stuffing

After stuffing the turkey, you have to squeeze the top of the bag to form it's neck.

Squeeze

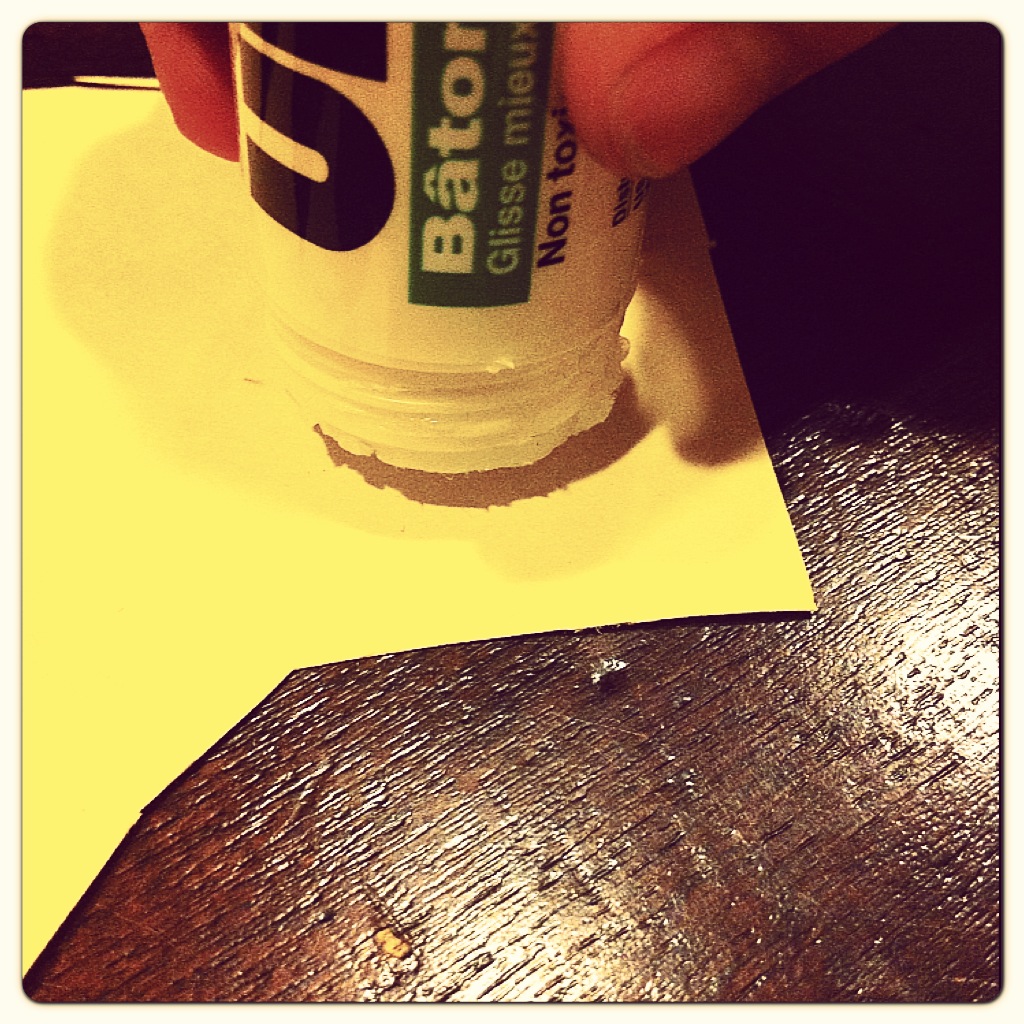
Next place glue on the bottom of the hands and make a bouquet of feathers. We tried gluing and sticking the hands directly onto the bag, but it was hard to get the hands to stick to the creases in the bag from the squeezing.

photo-69.JPG

So glue all the hands together at the bottoms and use a rolled piece of packing tape to attach the hand bouquet to the back of the turkey. Use another piece of rolled packing tape to attach the turkey face that you decorated earlier. And you are left with a cute little stuffed turkey.

Stuffed Turkey

Gobble! Gobble!

Put A Lid On It

Ever wonder what to do with all of those lids from containers that you recycle? Don't throw them away, save them! Okay, before you think I've gone completely off the deep end by keeping something that you typically throw away, let me first begin by saying how much I don't like trash or keeping extra things that are not necessary. However, when you are on a budget or even when  you're not and you just want to reduce your carbon footprint, reusing items that you would typically throw away for the enjoyment and education of your child is a great idea. You're going to have to trust me on this one.

First, you need a great big container to store them in. I used an empty pretzel barrel, look at that, reusing two things I would normally throw away. I taped a new label on the front and bam, I had a storage container for lids. See no need to buy anything. I mean really, doesn't it drive you crazy when you spend a bunch of money on toys and your kids would rather just play with the plastic containers in your kitchen cabinets. Well, if you have plastic containers anymore after all the BPA scares over the past few years. But that's beside the point. Here's my lid container.

Lid Container

Once you have your lid container, you can start saving lids. I basically saved any lid to a plastic container once the container was empty, for example I saved lids from milk jugs, applesauce squeezes, soda bottles, etc. I've even saved some lids from sour cream containers, mayonaise jars and laundry jugs to give a little more variety.

Before I put them in the container I always wash them thoroughly with soap and water. Also, make sure they are completely dry before putting them in your container, yes, I have a little bit of a mold phobia. I'm not going to lie, depending on how many lid items you use up in your house, it might take a while to get enough lids. I've been collecting lids for a little over six months and my container is a about halfway full. But no worries, your children can still play and learn without a ton of lids and you can always add as you go.

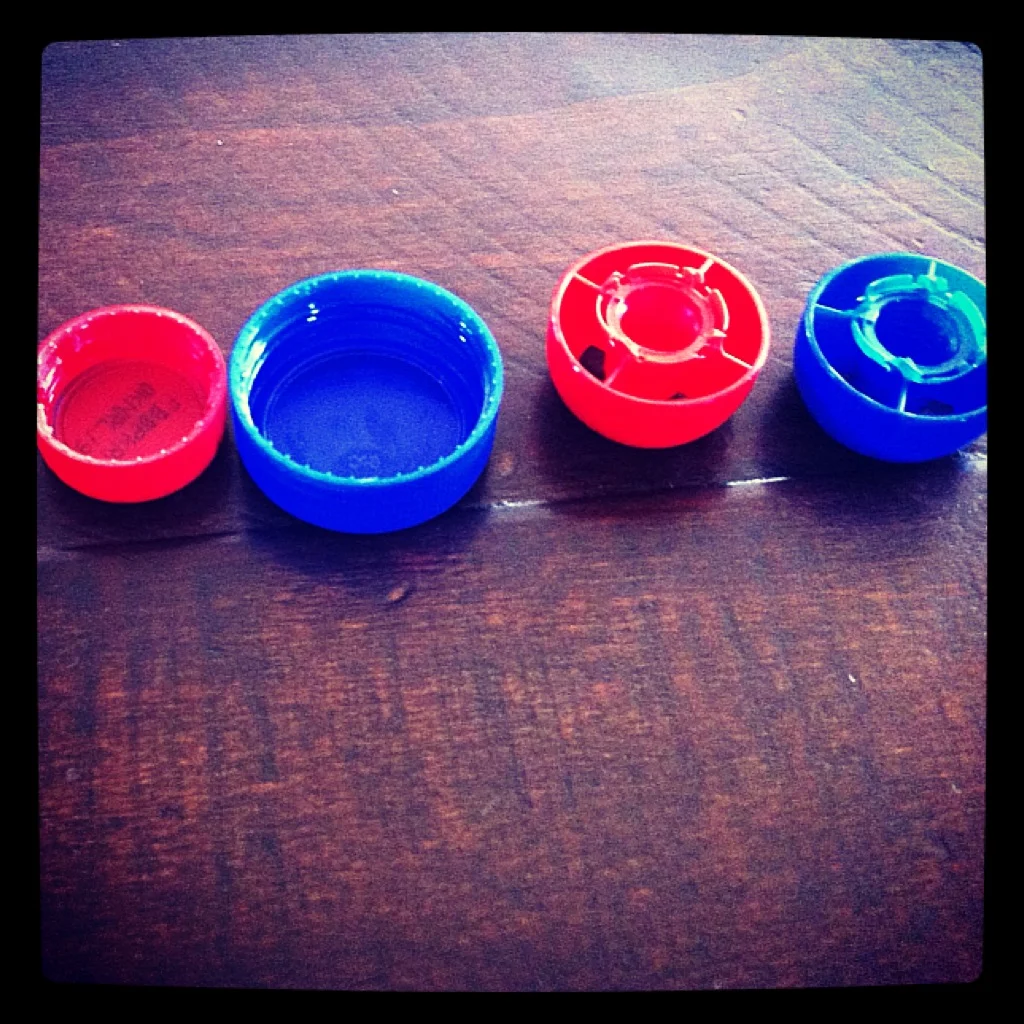
Okay, so now that you're saving lids, let me show you what you can do with them. Well, start by letting your kids explore with them. Let me take a moment to say that you should always watch your young children around the lids. Some of the lids I save are not safe for children under the age of three and could be a potential choking hazard. Or you can only save larger lids to be on the safe side. It's completely up to you. I'm a rebel, so I save them all and watch my youngest when she's playing with them. Let me take another moment to tell you to always build in exploration time to a lesson. Kids will be much more willing to listen and do what you want them to do, if they've felt you've given them ample time to look them over and see what they can do. The first thing my son did when I brought them out was dump the entire container onto the table with a satisfied, "CRASH!"

Lids

Then he began stacking and dumping them back into the container, while making truck noises. I'd say he has a healthy imagination. Meanwhile, my daughter played by selecting various lids and holding them up and saying, "Oooh, piddy!" She really thinks everything is pretty and wonderful. It's really amazing how happy she is about every little thing. Oh, to be 20 months old again, right?

So after a few minutes I asked my four-year-old son if there was anything he thought we could do with the lids (it's always nice to see what they're thinking) and he said, "we could sort them." Sorting was actually my plan, since one of the first math concepts we teach in kindergarten is looking for same and different qualities in objects and sorting things by how they are alike. So, I asked my son, "What does sorting mean?" He responded that you, "match up the colors." Perfect! One of the first ways kids sort is by color, because they notice color first. I mean think about it, if you describe something to someone you probably mention color and shape right away. So we sorted by color, all while trying to keep my 20 month old from messing up our piles.

photo-57.JPG

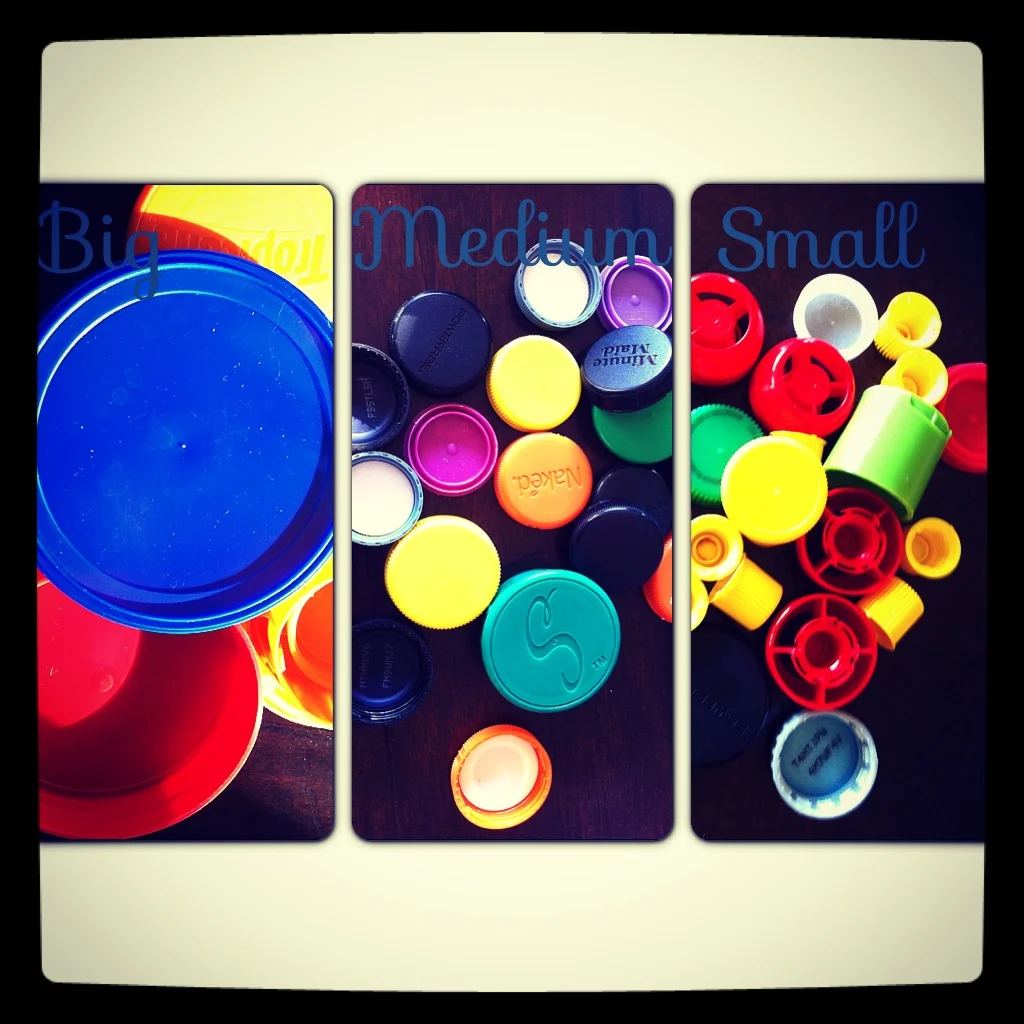
Next, I tried to see if he could sort them a different way, which is kind of a tricky thing. He wasn't able to do it, but I showed him how we could sort them by size and we worked together to put them into goups by big, medium and small.

Sorting by Size

Then, I wanted to see if he knew how to make a pattern. He laid out some lids and said, here's a pattern, but it wasn't a pattern at all. I told him that a pattern had to repeat, so I made a couple of simple AB repeating color patterns and had him tell me what would come next and he was able to do that. Extending patterns comes before creating, but I just wanted to see what he already knew.

Pattern

After a few minutes of extending patterns, my son said, "Mommy, can I just play?" and I knew lesson time was over. Then he and my daughter played for about 10 more minutes until the lids starting flying all over the kitchen, then I knew it was time to put them away. Back into the lid container, until we pull them out another day.

As I sit and type this post other ideas for ways to use these lids for learning are jumping around in my brain like little light bulbs going off. So, if you need a few more reasons to convince you to keep lids for learning, here they are...

Ways to Use Lids

  • Sorting (color, size, type, etc)
  • Creating and Extending Patterns
  • Counting by 1's-You can count all or how many of a specific color.
  • Skip Counting-Place lids in groups of 5's or 10's to teach the concept of skip counting.
  • Use with a 100's chart to count to 100
  • Graphing-Take a sample of lids 10-15 and sort them by color. Create a picture graph by gluing them in lines on paper or color in spaces on graph paper to create a bar graph.
  • Make groups of more, fewer or the same as another group of objects
  • Build Letters or Numbers
  • Make a mosaic picture to create a unique piece of art
  • Play

I'm sure there are many other ways to use lids. So, feel free to get creative!

Fill A Bucket

As a mom and a teacher, I'm always looking for ways to get my students and my own personal children to be more intrinsically motivated to do the "right" thing without always having to give a reward. It's a tricky thing, because we live in a very, "what's in it for me" society. I'm not saying there's anything wrong with looking out for yourself, I've in fact become pretty good at that, but I want to be a little more giving. Perhaps it's the holiday season rapidly approaching or the actions I see in daily life, but when the "Bucket Filling" concept was introduced to me at a faculty meeting about a month ago, I thought it was great.

Carol McCloud, the president of Bucket Fillers, Inc., has written several books with the idea that each person is born with an invisible internal bucket and when we do nice things for others, we fill their buckets, which in turn fills our own bucket. When our buckets are full, we are happy. When our buckets are empty, we are sad. So I read Have You Filled a Bucket Today: A Guide to Daily Happiness for Kids to my kindergarteners. Some of my students instantly latched on to this premise, while others had trouble understanding that the bucket was not a real bucket. 

A few weeks later, I was talking to one of my colleagues about how some of my students didn't really understand the whole concept of the bucket filling because it was too abstract, so she recommended Fill A Bucket by Carol McCloud and Katherine Martin, M.A. This book is great at explaining the bucket filling to younger children. I read it to my four-year old son one day recently and I talked to him a little about bucket filling, but I wasn't really sure how much he understood until my husband put him to bed that night. My husband was telling him what a great day he had with him and my son said, "Yeah, I weally filled your bucket, huh?" I guess he understood. This book is great for not only young children, preschool-kindergarten, but it sends a good message to parents and teachers too. I know I've been thinking about how what I say makes other people feel, especially the little ones in my life. So I pose the question to you, "Have you filled a bucket today?"

fillabucket.jpg

Letter In-Formation

As more emphasis is placed on Common Core and Standards of Learning, less emphasis is placed on handwriting and letter formation. The push to teach content into little brains is forcing handwriting instruction into the backseat. Not to mention the fact that we are living in a digital world. We text, we e-mail, we type so do we still need to learn how to write?

I say yes. Personally, I think there's something magical about putting pen to paper and even with my trusty computer and iPhone, there are still times when I enjoy writing out post ideas or calendar dates rather than inputting them straight into technology. Although, it is much easier to lose a post-it than a note in my phone.

However, I do recognize that not all kiddos enjoy my love of paper and pencil. When I give my son a piece of paper and a pencil his automatic response is to scribble something, even though he has been learning how to write letters at school. His preschool is teaching Handwriting Without Tears, which seems to be a preferred method among many preschools in my area. In my Kindergarten classroom I teach a very modified form of the program. I've read about Handwriting Without Tears, but I've never had any formal training and to be honest some weeks I barely have time to squeeze in handwriting practice for the letter of the week. That doesn't mean I don't think it's important, it simply means I'm super busy teaching other stuff like reading and math.

But the bottom line is that writing is important too and it all begins with letter formation. Handwriting is a tricky thing to teach at home because there seem to be so many ways to form letters, but I stick to the basics. I like what I know about Handwriting Without Tears because they keep it simple. All letters are made up of four basic shapes: big lines, little lines, big curves and little curves. For example, an uppercase E is one big line down with a little line at the top, a little line in the middle, and a little line at the bottom. Also, I teach my kids that you should write like you read (top to bottom, left to right). In other words, start forming your letters from the top down and left to right. Using the E again, you would start the big line at the top and make it straight down. Then you would go back to the top and make the little line at the top, middle and bottom writing them from left to right. Does that make sense?

Also, I've realized with my own son that if I really want to see what he knows, then I have to make it seem like it's not work. So I've made it my mission over the last week to fit letter formation into everyday play and it worked like a charm. It started when my son grabbed our Boogie Board, not the thing you ride waves on at the beach but the LCD writing tablet. You write on it with a special stylus and then you push a button and everything on the screen erases. He was drawing on it, or scribbling as I call it and I said can you make an E, he has one in his name. Sure he says and makes an E. Then I start asking him about other letters I know he's already learned at school and he writes each one of them in his slightly wobbly four-year old handwriting. I tried not to act too excited, but I was actually impressed. I usually can't even get him to write his name for me.

Boogie Board Writing

So my advice on this is change up the medium. Don't stick strictly to pencil and paper. Dry erase boards and chalkboards can be equally as fun. Or what about something like a Magna Doodle, do those even exist anymore? Or use a drawing app like Kids Doodle for the iPad or iPhone.

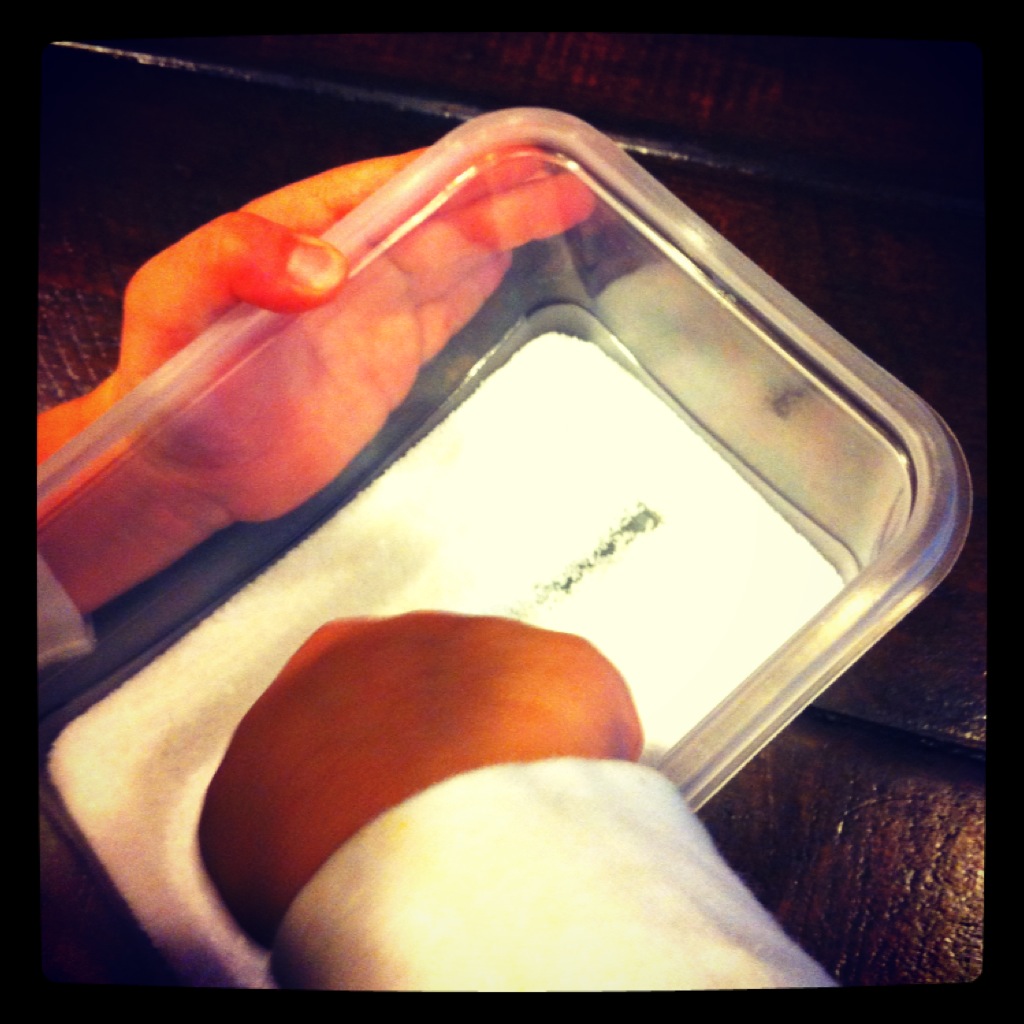
A few days later, I asked my son if he wanted to practice writing his letters and of course his automatic response was, "No sanks." I said, "well, how about if we draw it in salt?" He said, "Okay!" So I poured enough kosher salt into a small, rectangular plastic container to cover the bottom and had him write some letters using his pointer finger. It works because it's a different texture and the salt will hold the shape of what was written so you can see the lines where the letter was formed. Kind of like writing in the sand at the beach. It's also nice because you can give the container a little shake and the salt is flat again for another letter. Use a container with a lid and you can save it for another time, even better, right? 

Salt Writing

A similar task can also be done using finger paint, shaving cream or pudding (messy but delicious).  

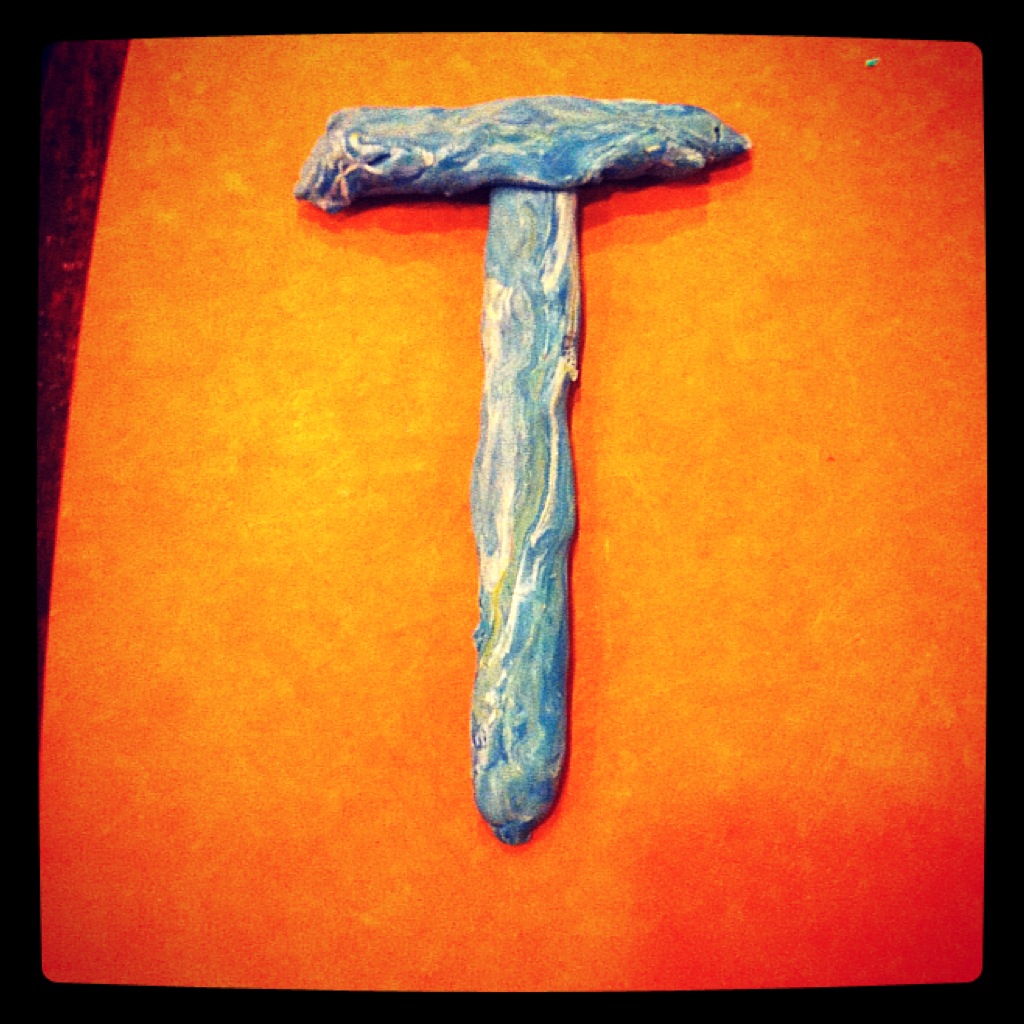
The last way I had my son practice his letters this week was by forming them with play-dough. He really enjoyed rolling out snakes to form the letters. Play-dough is great for building hand strength, which children need to develop for writing anyway. I also like using play-dough to form letters because it lends itself well to discussing the shape of the letters which in turn helps with writing the letters and remembering what they look like. It can never hurt to reinforce letter recognition skills.

Play-Dough

Yes, this T looks a little swirly, but there is absolutely no solid colored play-dough in my house. As soon as we get new play-dough my son makes it his personal mission to mix it with at least one other color. You open a can and you never know what color you are going to get. Certainly not the color that's on the lid. But that's beside the point. You can use other household items to form letters as well, pretzels, cheerios, legos, but I like play-dough because you can form it into other shapes and it curves well.

So, have some fun this week. Set aside your paper and pencil and have your child practice writing letters a different way.