The Leprechaun's Gold

The Leprechaun's Gold, written by Pamela Duncan Edwards and illustrated by Henry Cole, tells the tale of Old Pat and Young Tom, two harpists entering a contest for the title of best harpist in the land. Young Tom knows Old Pat is more talented and sabotages Old Pat's harp by cutting one of the strings. When the two men hear a leprechaun in need, Old Pat helps out, while Young Tom continues onward to the contest. Old Pat is rewarded with The Leprechaun's Gold and Young Tom, well you'll have to read to find out what happens to him. This story received my four year old son's approval as he has already requested to read it again tomorrow. There are also hidden shamrocks in the illustrations, which my son thought was great.

The Leprechaun's Gold
$5.03
By Pamela Duncan Edwards
Buy on Amazon

After finding shamrocks in this story, you can make your own shamrock prints using a green pepper, green paint and white paper. All you have to do is cut the green pepper in half horizontally as the stem is facing up.

photo-25.JPG

Then carefully scoop out the seeds without damaging the edges that will make the shamrock print.

photo-26.JPG

Next simply place upside-down on a plate.

photo-27.JPG

And stamp away!

photo-28.JPG

Somewhere Over the Rainbow

For some reason St. Patrick's Day and leprechauns always get me thinking about rainbows. Perhaps it's the illusive pot o' gold at the end of the rainbow or maybe it's all of the Springlike colors that I am so ready for after this cold, gray Winter. Whatever the reason, making rainbows is a great way to get your kiddies thinking about colors and all things Spring.

For this rainbow we used cereal, but I've also seen rainbows made of tissue paper, torn construction paper, and paint. I like the idea of cereal for several reasons: 1) you can sort it by colors, 2) picking up little pieces builds fine motor skills, 3) it creates a neat 3-D picture, and 4) you can snack while you create. Okay, so maybe 4 is not a very good reason, especially if you buy the cereal I bought. I think the number one ingredient is sugar, but an occasional indulgence won't hurt. I certainly don't buy sugary cereal very often; however, I do sometimes throw it into a homemade snack mix or sprinkle it on plain Cheerios to spice--er sweeten things up a bit.

To create this project with your little ones you will need:

photo-16.JPG
  • Fruity O's cereal like Froot Loops (I bought store brand because it was cheapest)
  • Wet glue
  • 6 small cups or an empty egg carton for sorting
  • Cotton Balls
  • Black Marker for drawing picture outline (especially for younger kids)
  • Blue construction paper or Tag Board

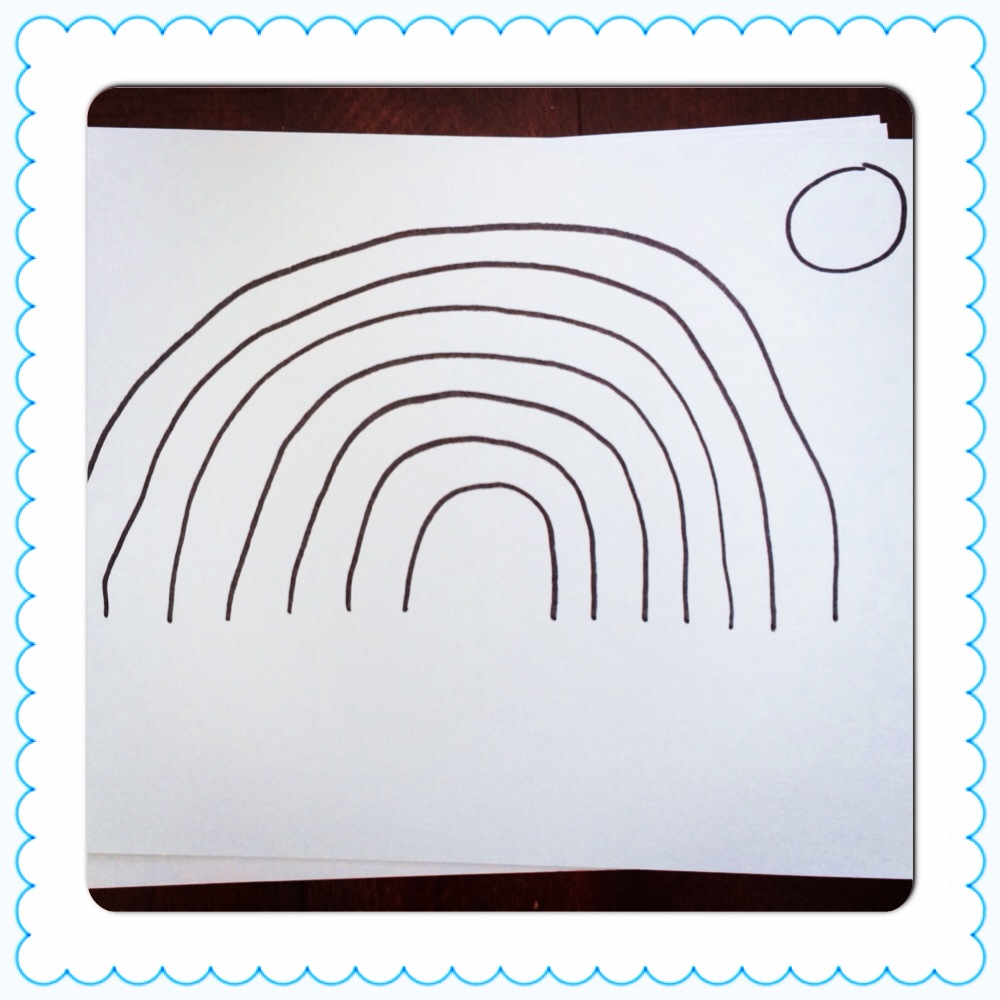
First, I drew a very basic rainbow outline with a small circle in the corner for a sun. The rainbow outline does not have to be perfect, mine was actually a far cry from perfect, because it is going to be covered with glue and cereal. It really just serves as a guide so that your little one will keep the rainbow shape.

photo-17.JPG

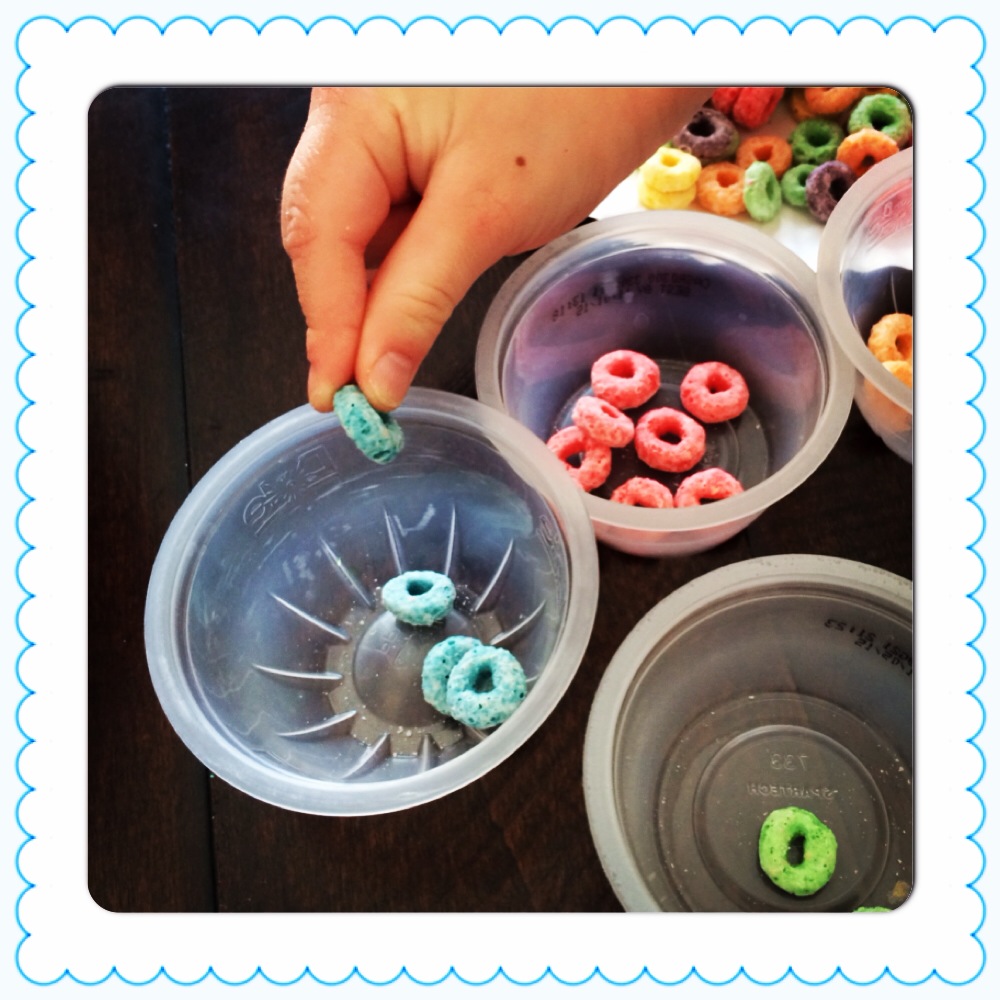
Next, I poured a small pile of cereal out onto a paper plate and placed the 6 small cups on the table. I used empty fruit/applesauce cups that I keep around for just this sort of project. I told my four year old son and two year old daughter that we had to sort the cereal by color and showed them how to put the red o's in one cup, the orange in another, and so on. My daughter is learning her colors now and is pretty solid on blue, orange and red, so if it was another color like green I would tell her the color and ask her to put it with the others that were the same color. She actually did a pretty good job. For my son, this was a really easy task. The actual hard part was trying to get them to sort the cereal and not eat it all. My recommendation is to complete this project after a full meal, just kidding, or maybe not.

photo-18.JPG

After sorting we were ready for gluing. We talked about rainbows and what colors we see in rainbows. We also sang "The Rainbow Song" which is a little tune I remember my little brother singing in preschool (so random I know). It has it's own tune and the words are "Red, Orange, Yellow, Green, Blue, Purple. Red, Orange, Yellow, Green, Blue, Purple. Red, Orange, Yellow, Green, Blue, Purple. These are the colors of the rainbow." Then we talked about what color you see first in a rainbow: Red. I made an arched line of glue and told my son to start with red.

photo-19.JPG

I'm not really sure why, but he started on the left, moved to filling in from the right, then went to the middle of the arch. I helped my daughter work on one too, but she gave up about halfway through the row and then kept eating and sorting the cereal into cups.

After gluing the red arch, my son glued orange, yellow, green, blue and purple. He would stop and sing the song in between colors to remember what came next.

photo-20.JPG

After we finished gluing all of the rows I let my son put some glue on the paper to glue cotton balls to the bottom bands of the rainbow for clouds.

photo-22.JPG

To finish the picture, I put glue inside the sun circle and my son added yellow o's to make a sun. You could also use torn tissue or construction paper for this for a different texture or material.

photo-23.JPG

And here's our finished rainbow.

photo-24.JPG

This colorful project will certainly have your little one ready to cast those snow boots aside for sunny days. Go ahead outside and go on a rainbow hunt. Who knows maybe you'll catch yourself a leprechaun or maybe even find a pot o' gold!

Fun Dough

I could be wrong, but I think perhaps play dough is a staple in any household with preschool aged children. In my house we go through phases and with all of the sickness and snow in our lives right now we are right smack dab in the middle of daily play dough fun. My son loves to roll it and chop it into tons of tiny pieces, while my daughter pushes it and squeezes it and tears it into tiny little pieces. I don't know what's up with the little pieces, but it keeps them occupied for good stretches of time and is a great activity for them to do at the kitchen table while I am cooking (I have to keep an eye on the little one to make sure she doesn't put it in her mouth). Also, play dough is a great sensory activity and helps build the fine motor muscles in little hands.

Play dough is also something we have seemed to accumulate over the past two years. At one point I think we had no fewer than 20 cans of play dough in various sizes, colors and textures, but lately they've started becoming crumbly and drying out so instead of buying more, I thought I would try one of the many recipes for play dough that I've come across on Pinterest.

Unbelievably I don't know that I have ever made play dough. I have a vague recollection of making it one time in college in one of my early childhood education classes. But it really is on the realm of did I actually do that or did I watch someone else do it? Does anyone else have those kind of memories? So, I definitely haven't made play dough in the past decade, so naturally I picked the easiest recipe I could find to start with from Kids Activities Blog. No cooking. Two ingredients. 10 minutes. Perfect.

I love the fact that it's so easy to make. All you need is corn starch and conditioner.

photo-11.JPG

I chose Suave conditioner because it was on sale and super cheap, 79 cents to be exact. I thought green apple would be a fun smell for dough too. I also did add two tiny drops of green food coloring (not pictured). I wanted to keep a pastel color (for Spring and shamrocks) but the conditioner alone wasn't enough to give it the green hue I was hoping for.

I will go ahead and say this right now, this dough should not be ingested as it contains conditioner. So closely monitor or skip this project if your little one has a tendency to put things in his/her mouth. My daughter is almost 2 and she was fine, but she's never been one to stick things in her mouth.

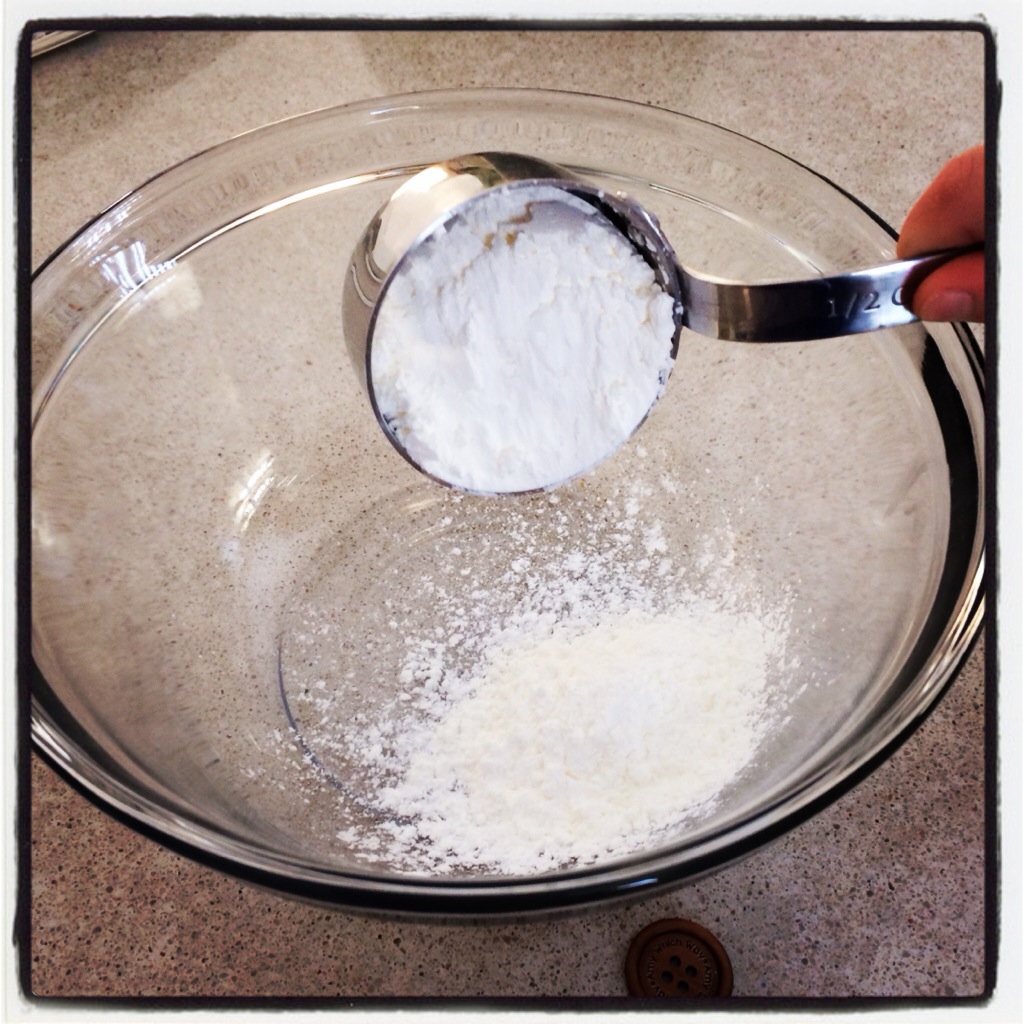
Back to the dough-- all you have to do is add 2 parts cornstarch to 1 part conditioner. For all of you non-math folks out there, believe me I'm not judging, I put in 1 cup of cornstarch and 1/2 cup of juicy green apple conditioner, which makes plenty of dough for two little ones.

photo-12.JPG
photo-13.JPG

I don't know if I should admit this or not, but when we first did this activity, I thought I remembered the amounts for the recipe so I didn't look it up again before we started. I really should never do that, especially not when little eyes are counting on me. I put in equal portions of conditioner and corn starch and got a gloppy, sticky mess. My four year old son said, "Mom this is not play dough." I could tell he was not impressed. So I went back and read the instructions again and added another 1/2 cup of corn starch. I guess I'm telling you this because if your mixture is too sticky you need more corn starch. If your mixture is too dry and floury you need a little more conditioner. But from what I've read it depends on the conditioner you use as to exact amounts. Don't be afraid to play around with the portions. I thought I had completely messed up the dough, but everything turned out fine.

photo-14.JPG

Now, I will go ahead and say, it's messy. My daughter's shirt was a little floury around the sleeves and on her belly, but nothing the washing machine couldn't handle. I also had to wash the play dough toys my kids used in the sink because corn starch has a tendency to stick to things. We used our play dough mat to play on and I easily wiped everything down after playing. However, despite the little bit of mess, my kids loved it! There were actually tears when it was time to clean up and get ready for dinner (always a sign of something fun). I guess we've found a new favorite, for now. I'll keep you posted on our next dough experience.

photo-10.JPG

Ten Apples Up On Top

Today was Read Across America Day, the day celebrated around beloved children's book author Dr. Seuss' birthday. It was also another snow day in my hometown, so instead of wearing pajamas to school, reading Dr. Seuss books and making red and white striped hats, I wore my pajamas at home, read Ten Apples Up On Top to my kids and did a counting activity.

Ten Apples Up On Top is a fun rhyme about a lion, tiger and dog who take turns doing things with various numbers of apples on top of their heads. When they finally reach ten apples up on top, the lady tries to knock them off with a mop. This is a silly read with lots of basic sight words and counting fun.

After reading the book, I thought it would be fun to practice sequencing numbers and counting to ten. So I used an apple juice lid and drew ten circles on a piece of red construction paper to be the apples. Then I wrote the numbers from 1-10 in random order.

photo-4.JPG

My son happily cut them out, between snow days and illness he has missed quite a bit of school lately and although he would never admit it, I can tell he misses it. I asked him if he wanted to do a project today and he was sitting at the kitchen table before I even had the materials together.

photo-5.JPG

While my son cut, I cut ten apples, with no numbers, out for my two year old daughter. I don't let her cut yet, but she LOVES to make things. I drew the outline of a head and shoulders at the bottom of two pieces of easel paper and before gluing the apples on the head, had my kids decorate the faces.

photo-6.JPG

After decorating, I helped my daughter glue her apples on top of the head. She's just learning how to use a glue stick. She's really good at smearing the glue on, but doesn't quite get the concept of turning the glue side over to stick it to the paper. My son had to glue his numbers in order from 1-10. So he had to first find the number that came next and then glue it down in order.

photo-7.JPG

After gluing, I had them each touch each apple and count to ten. Okay, I had to help my daughter touch and count, but she's eager to learn.

photo-8.JPG

Here are the finished products.

photo-9.JPG