Pick of the Patch
If you're anything like me, when you think of Fall you probably think of cooler weather, leaves changing colors, apple picking and you guessed it, pumpkins. I mean honestly, when you have kids you can't have fall without at least one trip to a pumpkin patch, right? Of course. We have our annual family trip already on the calendar for later this month. In the mean-time my son has been asking daily if we can decorate for Halloween; well, ever since last week when I found him looking through the October Pottery Barn catalog, which is full of snakes and skulls and spiderwebs. All very interesting things to a little boy and creepy to his Mama. I thought, sure we'll get some decorations, not snakes and spiderwebs, but maybe some cutesy pumpkin stuff. So this past weekend, we went out to get some decorations to put up around the house; however, the Halloween shelves were pretty bare already and Christmas stuff was out! Did I miss something? Aren't there still 3 more weeks until Halloween? Perhaps I should have been looking for Fall decorations back in August? For next year I'll know better, but in the meantime I guess I'll have to make my own decorations, beginning with these super cute pumpkins.
I actually saw this idea from a friend's Facebook post a few weeks back with apples instead of pumpkins. When I went back to try to credit the source from her page, of course I couldn't find it. So, I'm admitting right now, this is not an original idea, but I am tweaking it slightly. Somewhat like a chef puts changes to a recipe, this teacher adjusts a craft to meet her needs. When I saw the craft, I immediately thought it was cute, but I was a little appled out at the time and we haven't had pumpkin week at school yet so pumpkins it is.
The great thing about making these pumpkins was that I didn't have to buy a single thing to make them! I'm guessing that most of you have these items around your house as well. For the pumpkins you will need: brown paper bags, paint, yarn, newspaper, scissors, a single hole puncher, a sponge, and a plastic bowl or paper plate.

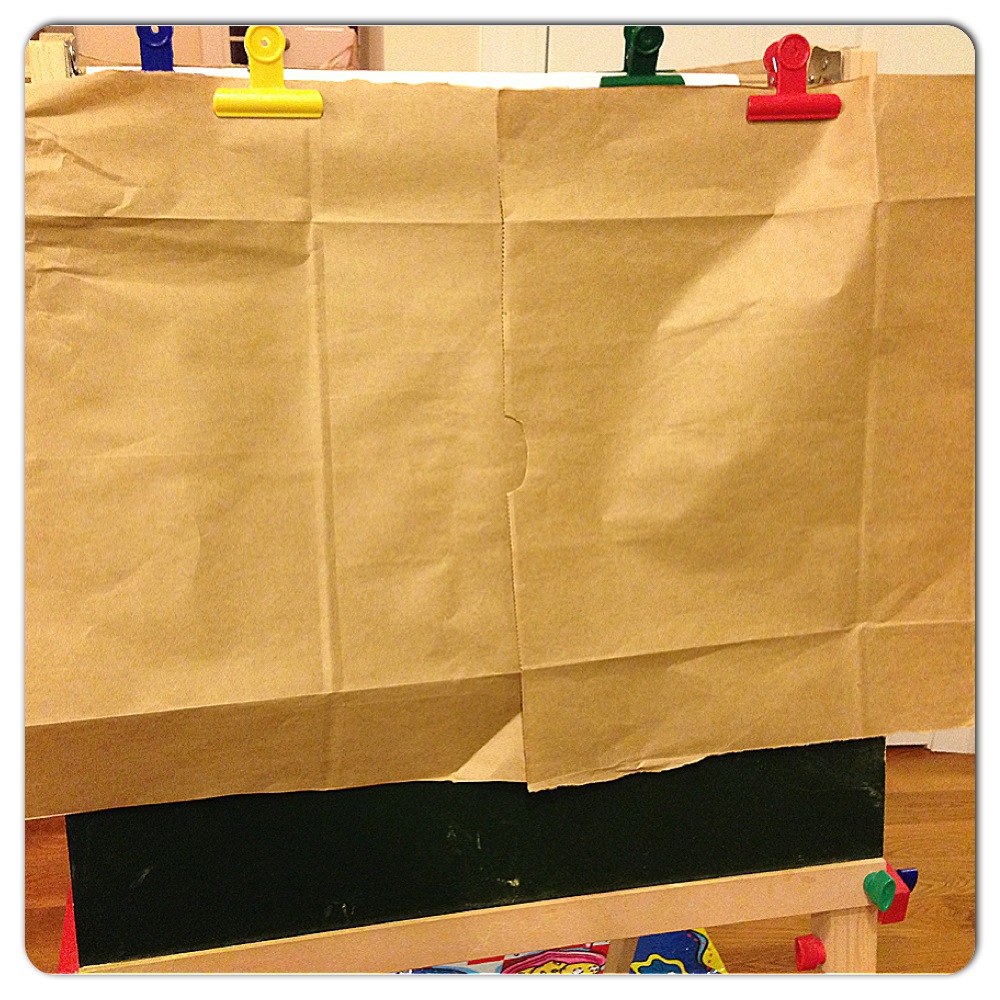
First cut a brown paper bag down the seam of one of the sides. Next cut the bottom of the bag off to give you one long strip of brown bag. Then cut the long strip along the other side seam giving you two pieces of brown bag. I clipped my brown paper sideways on our easel, but if you don't have an easel you can always just put it on a flat surface such as a table or the floor (I would recommend putting down newspaper or a plastic mat when painting though).
Next put the paint into a bowl. I used red and yellow because I have large bottles of the primary colors and I thought it would be fun to have my son mix the colors to make a new color. He actually kept saying, "red and lellow make orange" over and over. His future art teacher will thank me I'm sure.

After mixing the paint, I told my son to use the sponge to paint the brown bags. I tried to explain dabbing the sponge and he said, "To add tekchure right, I know Mom, I did dis at school." Really? How does my four year old know the word texture? He's always saying random multisyllabic (aka big) words. Which again reminds me that he's a little sponge and I should watch what I say around him. But back to the painting, he insisted on using the sponge like a paintbrush and my intention was that it would be more stamped; giving it texture. But as long as there is paint on the paper, there is really no wrong way to get it there.

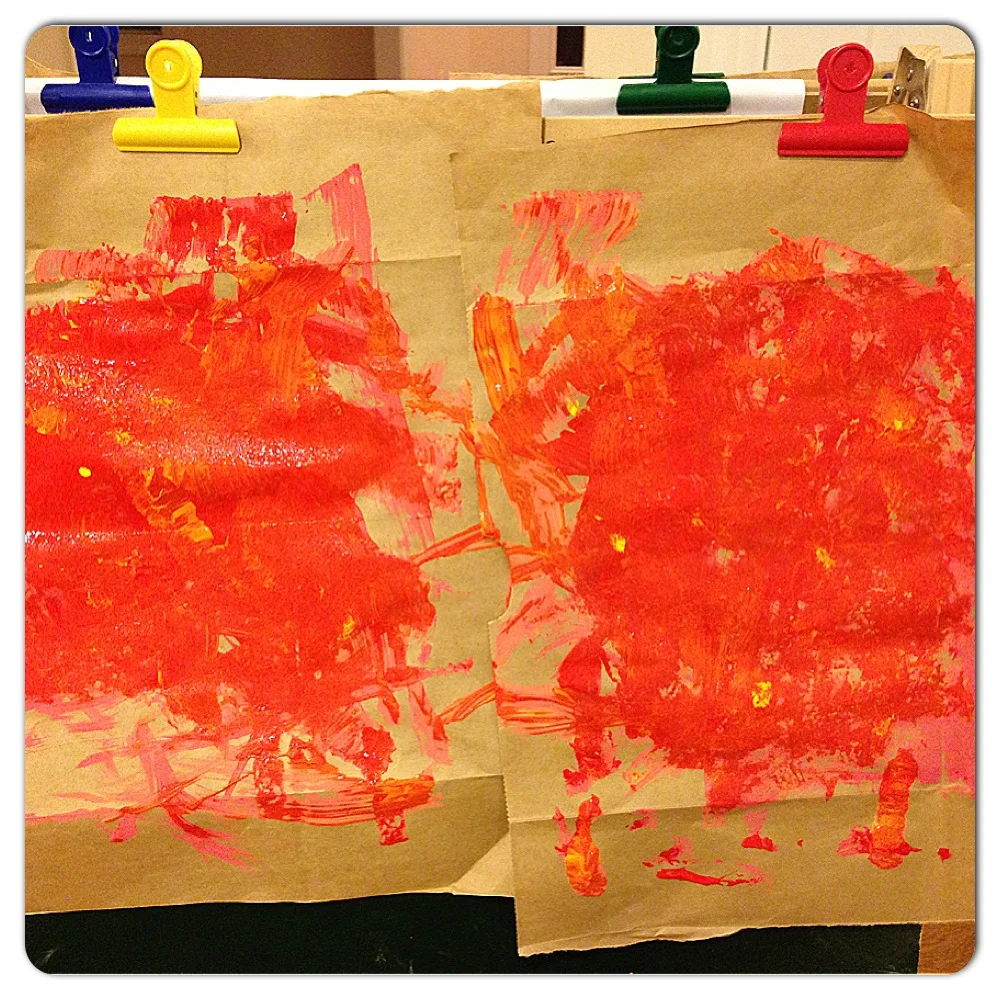
Here is the finished painting. I did have to add a little more yellow because our orange was looking a little more red than orange. I was trying to make pumpkins not apples, right? I may have forgotten to mention this earlier, but this is probably a two day, in my working mom case, or morning and afternoon project if you stay home. Because after the painting is finished, you have to wait for it to dry.
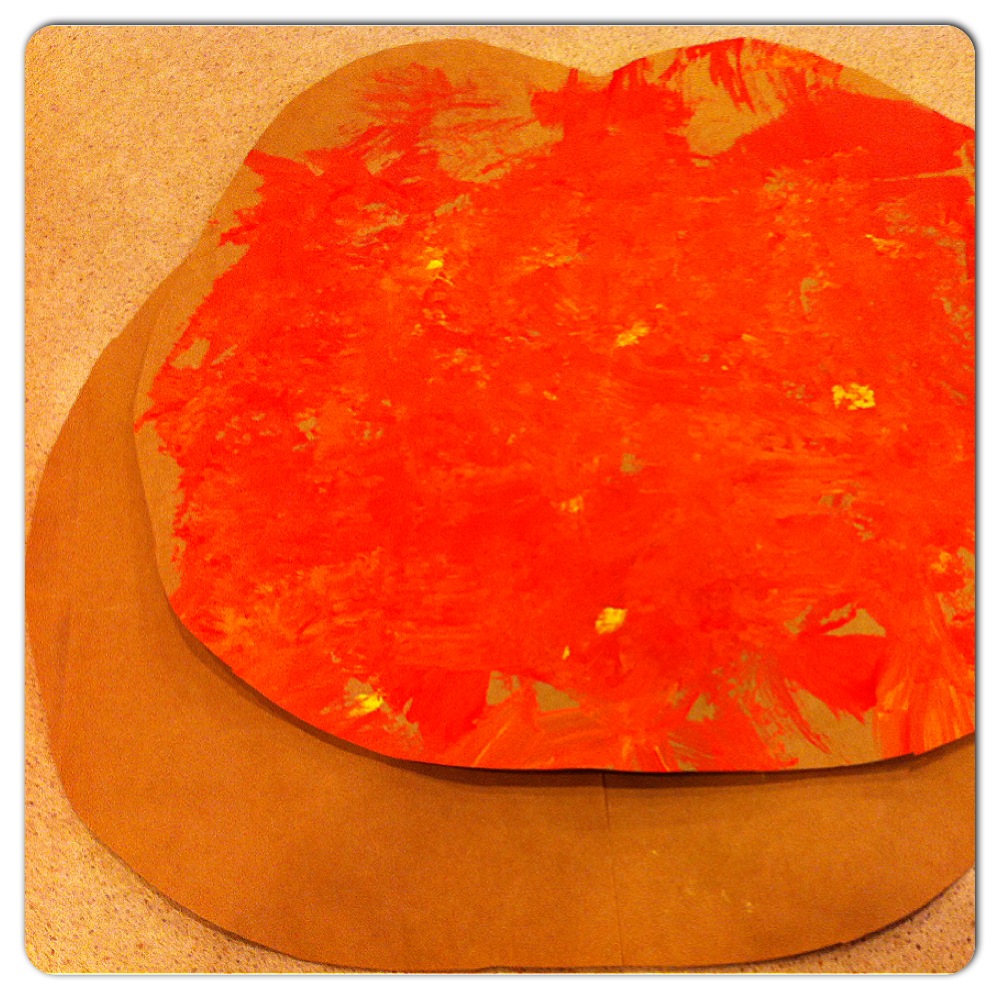
After the paintings are dry, remove them from the easel and place them back to back with the paint sides out. Cut both pieces of paper into a pumpkin-shaped circle around the painting. I did not use a pattern, but if you want you can make a pattern and trace it or draw what you will cut with a pencil first. I used to need patterns and perfection, but now I am a professional pattern winger. Teaching kindergarten will do that to you, but in all honesty it's going to be cute either way and the less perfect and more kid looking the better, in my opinion. You want to cut both pieces at the same time so that they will line up and be exactly the same size and shape. I simply cut a dip where the stem would be and made the rest round. But I promise not to judge you if you make a pattern first and trace it.

Next, line your pumpkin pieces up and hole punch around the outside about an inch away from the edges. I punched as far in as the hole punch would reach. That way the bag won't rip when it's being laced. My son tried to help me punch the holes, but I had to put my hand over his because he didn't have the hand strength to squeeze the hole punch. Again, hole punch both pieces at the same time so that the holes line up making them easier to lace.
The next part is sometimes tricky for little fingers, but is a great fine motor activity. I'm about to get really scientific. You need a big piece of yarn. I pulled the yarn the length of my armspan and then doubled it. Not only do I use no pattern, but I also don't measure with precision, which I will say gets me in trouble sometimes, but not today. Give yourself plenty of extra yarn when you start so that your little one will not accidentally undo what he/she has already laced. Start at the top and feed the yarn through the hole towards you. Once the yarn is through the hole, then pull it towards the edge of the pumpkin, wrapping it around and pull it through the next hole. Gee, that's really hard to explain. Maybe that's why I could never learn to knit by reading a book. Here's a picture to help.

Surprisingly enough, my son did a great job with the lacing. I think I always assume that he has poor fine motor skills because he's not crazy about fine motor activities, but I guess that's not always the case. Lace about 3/4 of the way around the pumpkin and then stuff it full of crumpled up newspaper.
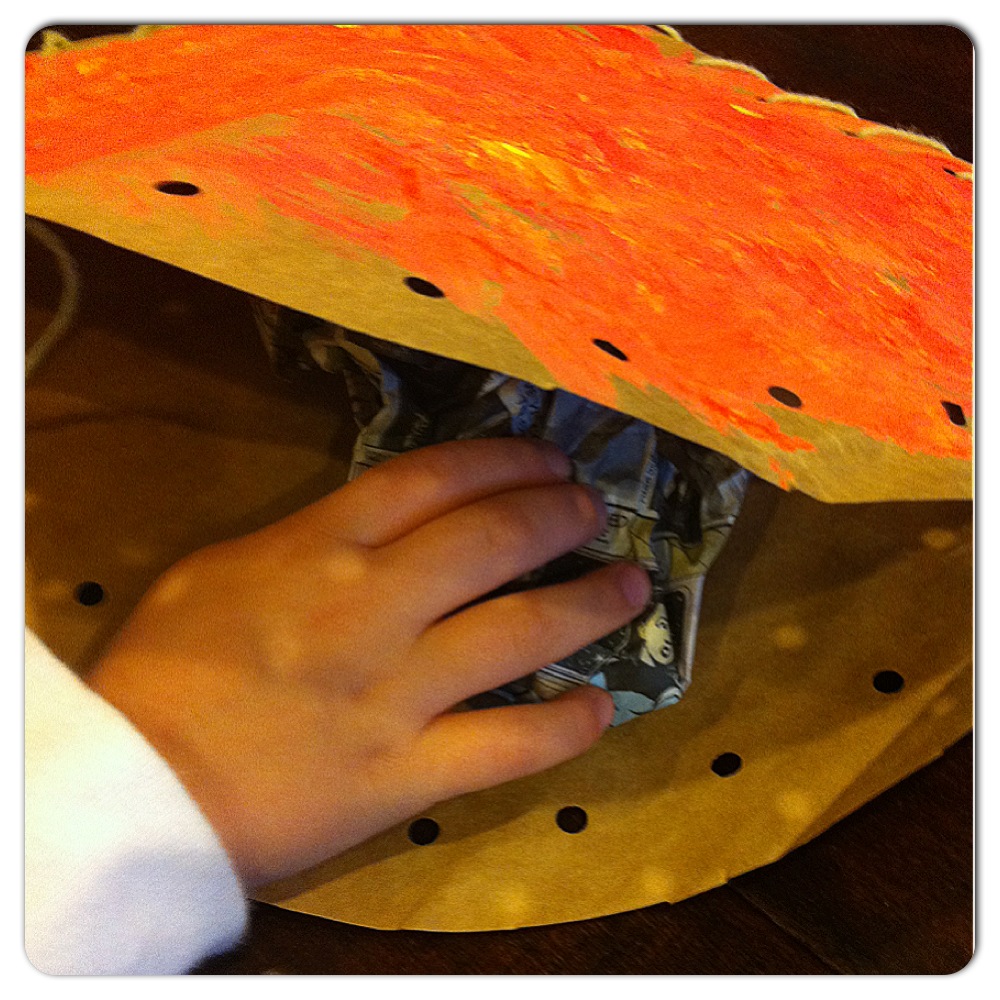
My son loved this part. The destroyer in him really enjoyed crumpling the newspaper. Keep lacing and add the final bits of newspaper towards the end just before you tie the two ends of yarn together. You might have to lace the last little bit so that you can pull it tight. My son had given up the lacing by the end anyway so there was not arguing for him to stop. Here is the finished product.

I added the stems as an afterthought to give the pumpkins more detail. I simply cut a small rectangle from the paper bag scraps and colored it with a brown marker. I placed a little glue at the bottom of the stem and wedged it in between the top two holes where I tied the yarn. Make a few of these and you'll have your own private pumpkin patch!