Put A Lid On It
Ever wonder what to do with all of those lids from containers that you recycle? Don't throw them away, save them! Okay, before you think I've gone completely off the deep end by keeping something that you typically throw away, let me first begin by saying how much I don't like trash or keeping extra things that are not necessary. However, when you are on a budget or even when you're not and you just want to reduce your carbon footprint, reusing items that you would typically throw away for the enjoyment and education of your child is a great idea. You're going to have to trust me on this one.
First, you need a great big container to store them in. I used an empty pretzel barrel, look at that, reusing two things I would normally throw away. I taped a new label on the front and bam, I had a storage container for lids. See no need to buy anything. I mean really, doesn't it drive you crazy when you spend a bunch of money on toys and your kids would rather just play with the plastic containers in your kitchen cabinets. Well, if you have plastic containers anymore after all the BPA scares over the past few years. But that's beside the point. Here's my lid container.

Once you have your lid container, you can start saving lids. I basically saved any lid to a plastic container once the container was empty, for example I saved lids from milk jugs, applesauce squeezes, soda bottles, etc. I've even saved some lids from sour cream containers, mayonaise jars and laundry jugs to give a little more variety.
Before I put them in the container I always wash them thoroughly with soap and water. Also, make sure they are completely dry before putting them in your container, yes, I have a little bit of a mold phobia. I'm not going to lie, depending on how many lid items you use up in your house, it might take a while to get enough lids. I've been collecting lids for a little over six months and my container is a about halfway full. But no worries, your children can still play and learn without a ton of lids and you can always add as you go.
Okay, so now that you're saving lids, let me show you what you can do with them. Well, start by letting your kids explore with them. Let me take a moment to say that you should always watch your young children around the lids. Some of the lids I save are not safe for children under the age of three and could be a potential choking hazard. Or you can only save larger lids to be on the safe side. It's completely up to you. I'm a rebel, so I save them all and watch my youngest when she's playing with them. Let me take another moment to tell you to always build in exploration time to a lesson. Kids will be much more willing to listen and do what you want them to do, if they've felt you've given them ample time to look them over and see what they can do. The first thing my son did when I brought them out was dump the entire container onto the table with a satisfied, "CRASH!"

Then he began stacking and dumping them back into the container, while making truck noises. I'd say he has a healthy imagination. Meanwhile, my daughter played by selecting various lids and holding them up and saying, "Oooh, piddy!" She really thinks everything is pretty and wonderful. It's really amazing how happy she is about every little thing. Oh, to be 20 months old again, right?
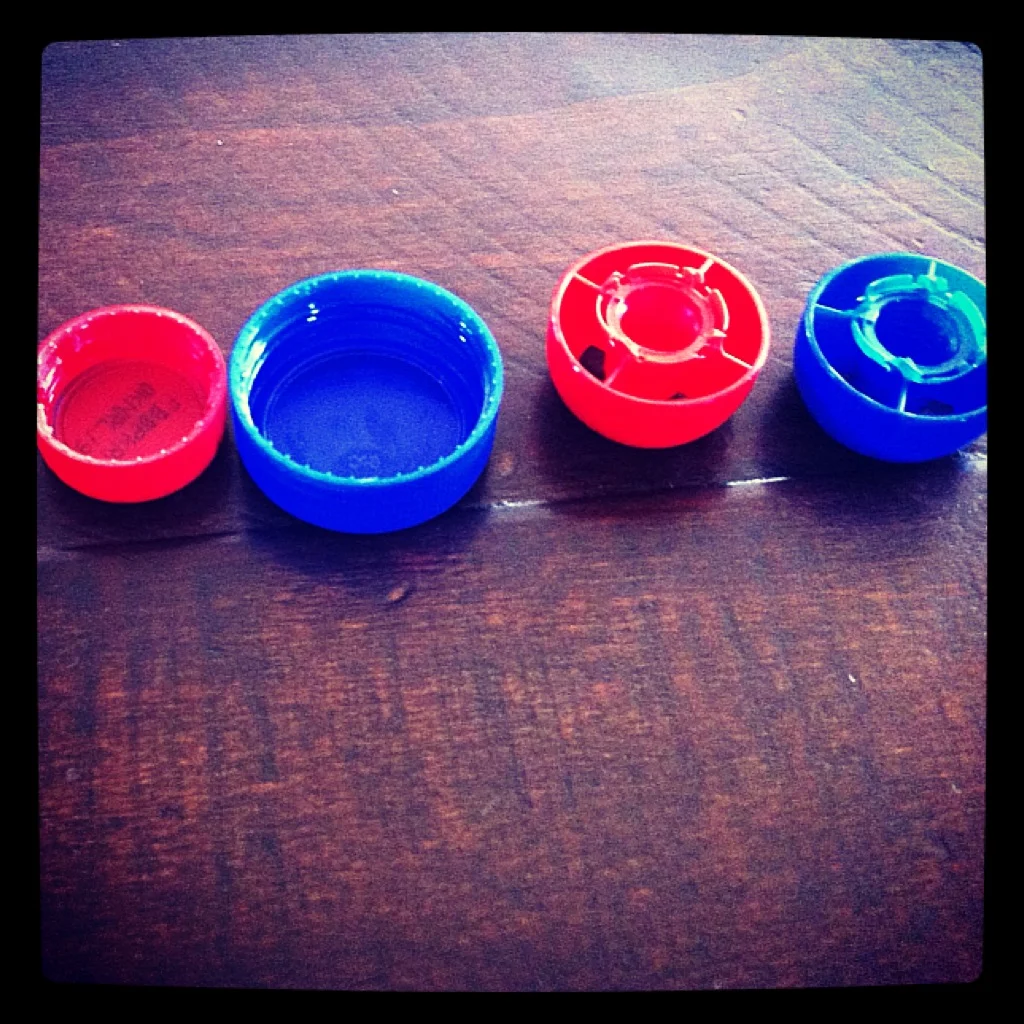
So after a few minutes I asked my four-year-old son if there was anything he thought we could do with the lids (it's always nice to see what they're thinking) and he said, "we could sort them." Sorting was actually my plan, since one of the first math concepts we teach in kindergarten is looking for same and different qualities in objects and sorting things by how they are alike. So, I asked my son, "What does sorting mean?" He responded that you, "match up the colors." Perfect! One of the first ways kids sort is by color, because they notice color first. I mean think about it, if you describe something to someone you probably mention color and shape right away. So we sorted by color, all while trying to keep my 20 month old from messing up our piles.

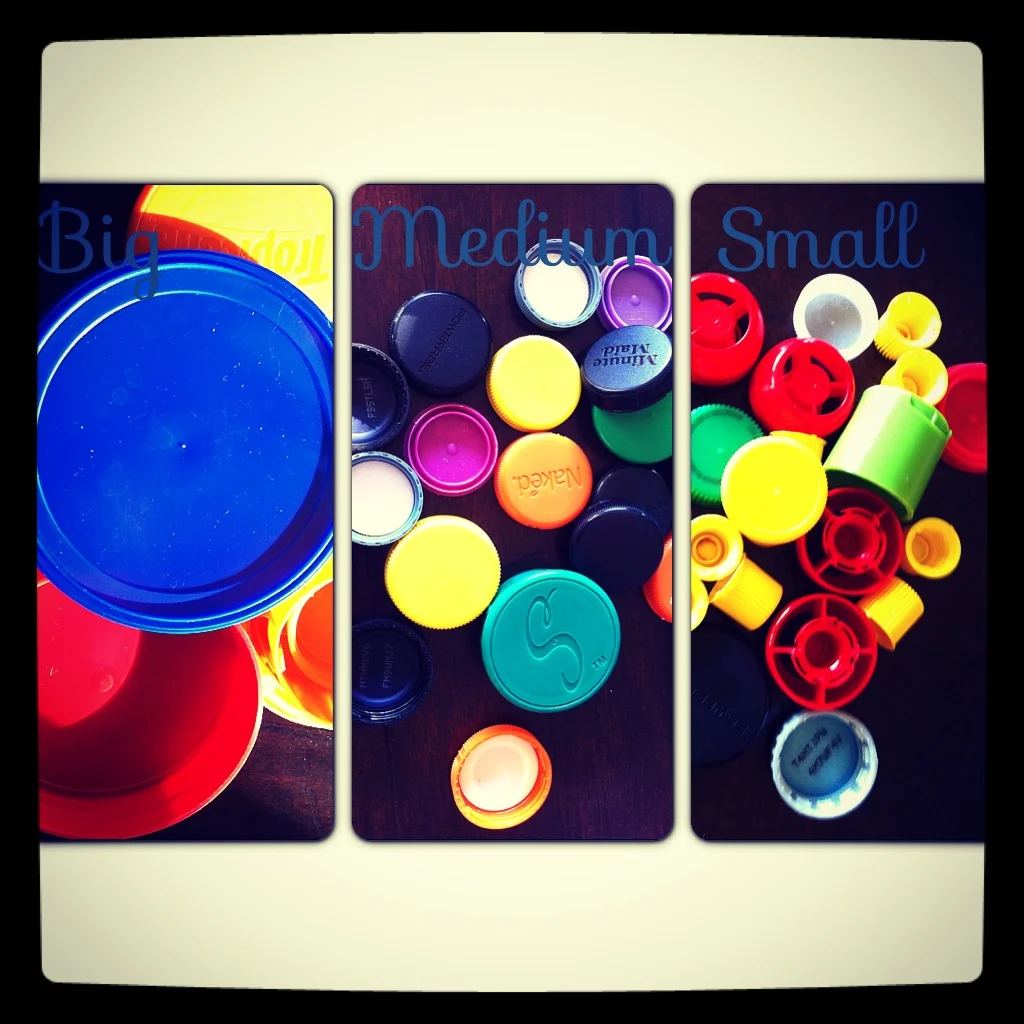
Next, I tried to see if he could sort them a different way, which is kind of a tricky thing. He wasn't able to do it, but I showed him how we could sort them by size and we worked together to put them into goups by big, medium and small.
Then, I wanted to see if he knew how to make a pattern. He laid out some lids and said, here's a pattern, but it wasn't a pattern at all. I told him that a pattern had to repeat, so I made a couple of simple AB repeating color patterns and had him tell me what would come next and he was able to do that. Extending patterns comes before creating, but I just wanted to see what he already knew.
After a few minutes of extending patterns, my son said, "Mommy, can I just play?" and I knew lesson time was over. Then he and my daughter played for about 10 more minutes until the lids starting flying all over the kitchen, then I knew it was time to put them away. Back into the lid container, until we pull them out another day.
As I sit and type this post other ideas for ways to use these lids for learning are jumping around in my brain like little light bulbs going off. So, if you need a few more reasons to convince you to keep lids for learning, here they are...
Ways to Use Lids
- Sorting (color, size, type, etc)
- Creating and Extending Patterns
- Counting by 1's-You can count all or how many of a specific color.
- Skip Counting-Place lids in groups of 5's or 10's to teach the concept of skip counting.
- Use with a 100's chart to count to 100
- Graphing-Take a sample of lids 10-15 and sort them by color. Create a picture graph by gluing them in lines on paper or color in spaces on graph paper to create a bar graph.
- Make groups of more, fewer or the same as another group of objects
- Build Letters or Numbers
- Make a mosaic picture to create a unique piece of art
- Play
I'm sure there are many other ways to use lids. So, feel free to get creative!