Polar Bear, Polar Bear, What Do You Hear?
Is it the cold wind whipping around your house or the snow hitting your windows? Or perhaps it's the frigid polar vortex that's keeping you indoors with your kiddos? Whatever the reason, when the new Christmas toys have lost their luster, don't hibernate, create!
I came across this cute polar bear in an e-mail from Kiwi Crate. If you haven't heard of Kiwi Crate, it's a company where you can purchase kits to make crafts with your children. I have never purchased one of their kits, but I enjoy their e-mails and DIY projects. Call me crazy, but I actually like to purchase and put together my own activities. It's part of the teacher thing, I guess.
I was instantly attracted to the "Shaving Cream Polar Bear" because it was cute (of course) and required painting with a material other than straight paint. Sometimes it's nice to get outside of the normal. When I saw that you paint with shaving cream, I was instantly brought back to my preschool teaching days when we sprayed shaving cream all over the tables and let the kids draw and play. Actually, I let my daughter do just that on her high chair tray, while my son and I painted our polar bear.

Sure it was a little messy, but she had a blast! Shaving cream play is great sensory play and although it looks messy, it's not too terrible to clean up because it rinses right off. She did smell like a little manly for the rest of the day though. So if your little one isn't quite old enough for the polar bear, consider some sensory fun with shaving cream instead.
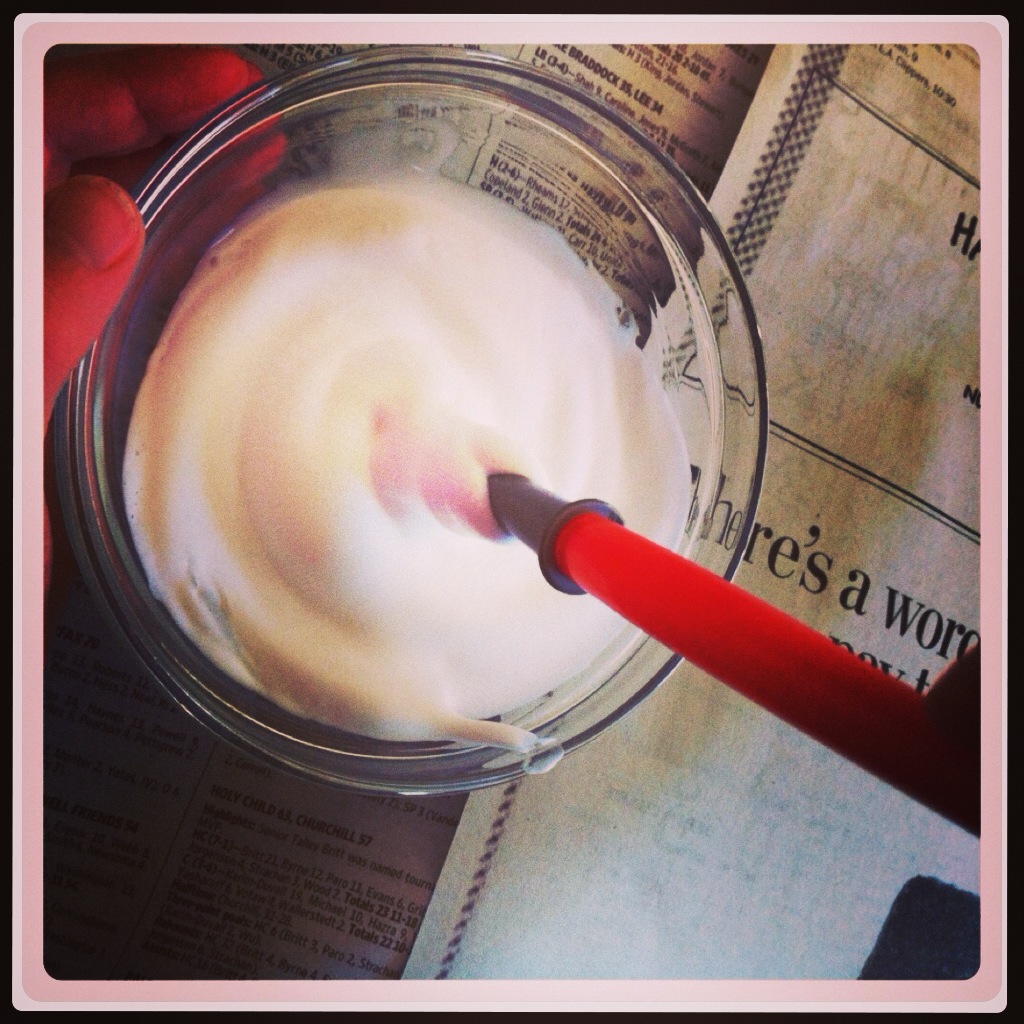
Back to the bear. To make the shaving cream polar bear, you need shaving cream, glue, black paint, an egg carton, 2 googly eyes, 2 face cleaning rounds, a paper plate, a bowl and a paint brush.

First you put equal parts of shaving cream and glue into a small bowl. Okay, so I put the shaving cream in the bowl (visions of shaving cream flying across the kitchen danced in my head at the thought of my son doing it), but I did let him squeeze the glue into the bowl.

I also let him mix the shaving cream and glue together.
After the shaving cream and glue are thoroughly mixed your little one can paint it on the bottom part of a paper plate. I have the cheap, white non-coated plates for just such occasions.

After the plate is painted, you have to let it dry for a really long time. We left ours for about 24 hours. It stays a little puffy when it dries and is slightly squishy to the touch. You could probably leave it for less time, but I kept thinking it would harden up more. We went ahead and painted the nose (one cup cut from the egg carton) so that it could dry as well.

When the plate and the nose are dry, you are ready to put together the face. Glue the nose in the middle of the plate, or wherever your little one thinks it should go. Next glue the googly eyes on for the bear's eyes and the face cleaning rounds on for ears.

My son, got a little glue happy so remind your little one that you don't need too much glue. In the words of the art teacher at my school, "Dot, dot, not a lot." Here's the finished product. My son was quite proud!
