Homemade Gelatin Hearts

I typically avoid Jell-O. There is pretty much nothing natural about it from it's color (obtained by dyes) to the artificial flavors. Not to mention the fact that the first ingredient is the dreaded sugar. Now, before you think I'm getting on a soapbox, let me just say that my children consume PLENTY of sugar. I also have about 4 boxes of Jell-O in my pantry at this very moment. It's just that I'm not a huge fan of the wiggly stuff and I can probably count on one hand how many times I've made it since my son has been born. Jigglers look fun and around Halloween I even tried to make pumpkin shaped molds out of orange Jell-O, but I couldn't get the little jack-o-lantern faces out of the molds without breaking them into a million pieces. Therefore, I proclaim that Jell-O and I are not friends.

However, while flipping through the February 2015 issue of Parents Magazine, I came across a recipe for "Jellie Hearts" made of fruit juice, gelatin, and vanilla-flavored Greek yogurt. My first thought was, what, you can make Jell-O without a box of Jell-O? Yes, I know, duh, of course you can. What rock have I been living under? Then I thought, wow, I bet my kids would love this. And I was completely right!

Making Homemade Gelatin Hearts is really easy! That's the best kind of recipe right? Three ingredients, a few simple steps and smiling kiddos. All you need is fruit juice, gelatin packets and vanilla-flavored Greek yogurt.

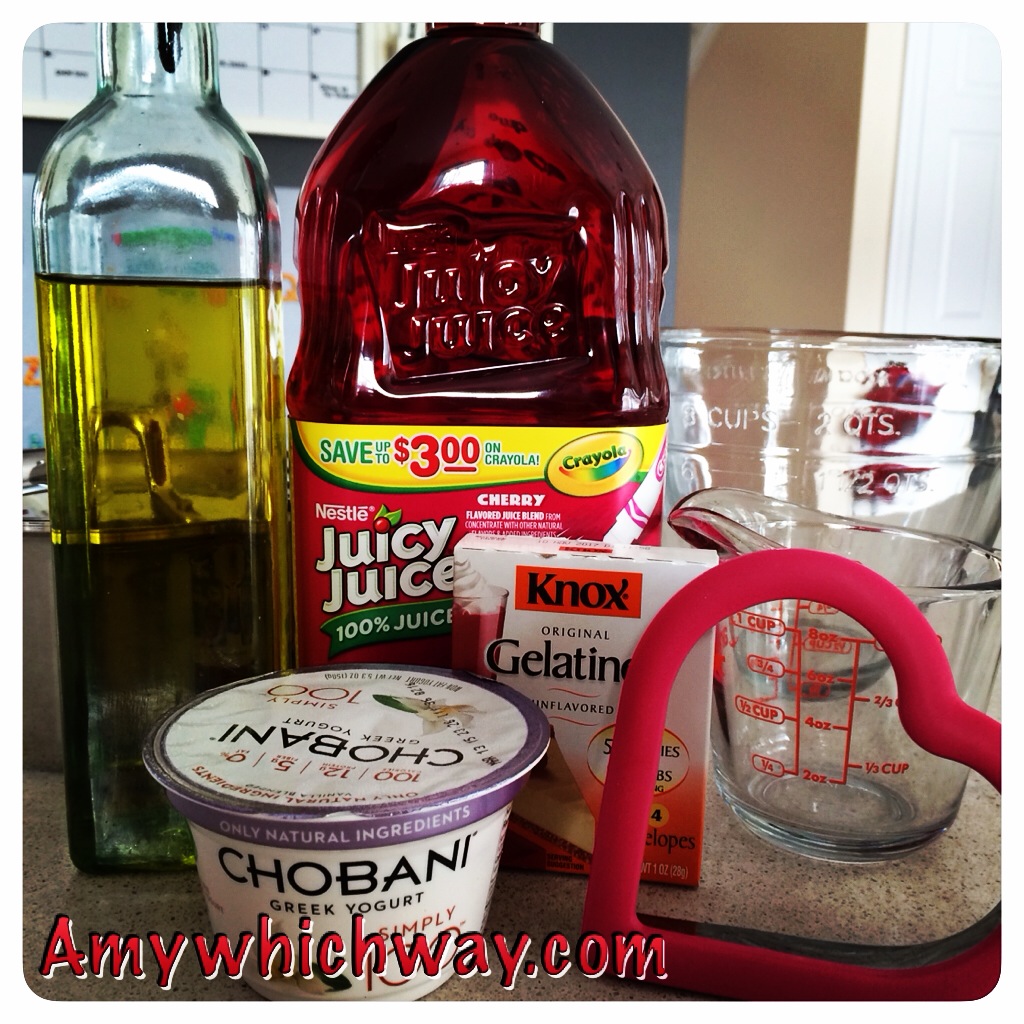
I also used, olive oil, a heart shaped cookie cutter, a saucepan, a glass dish, one large measuring cup and one small measuring cup.

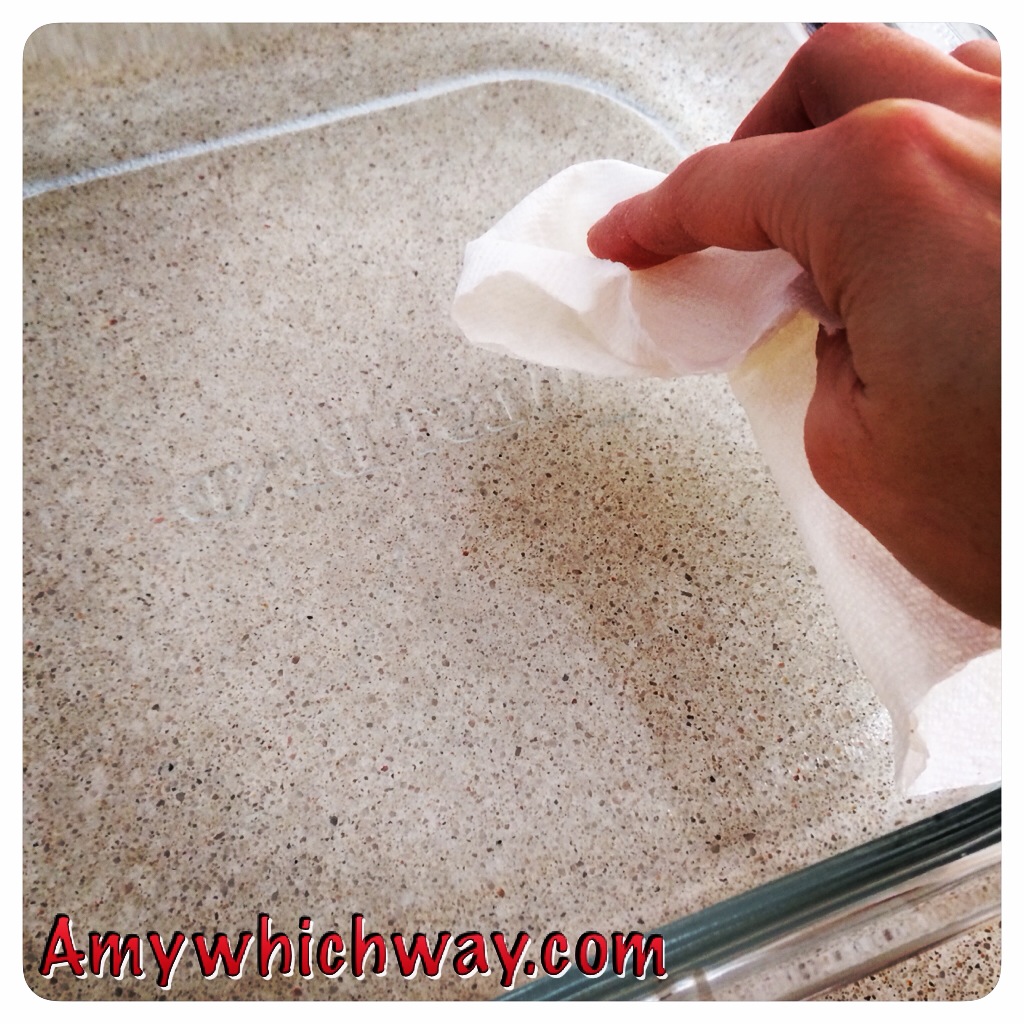
First, I used a paper towel to put a thin coating of olive oil on the glass baking dish. The recipe actually called for a quick coating of cooking spray, but I no longer use cooking spray for reasons that could take up another whole post. Plus what did people do before cooking spray was invented? When I was a little girl, I remember greasing pans with Crisco on a paper towel. So trust me when I say, cooking spray is really not necessary. But use it if you must.

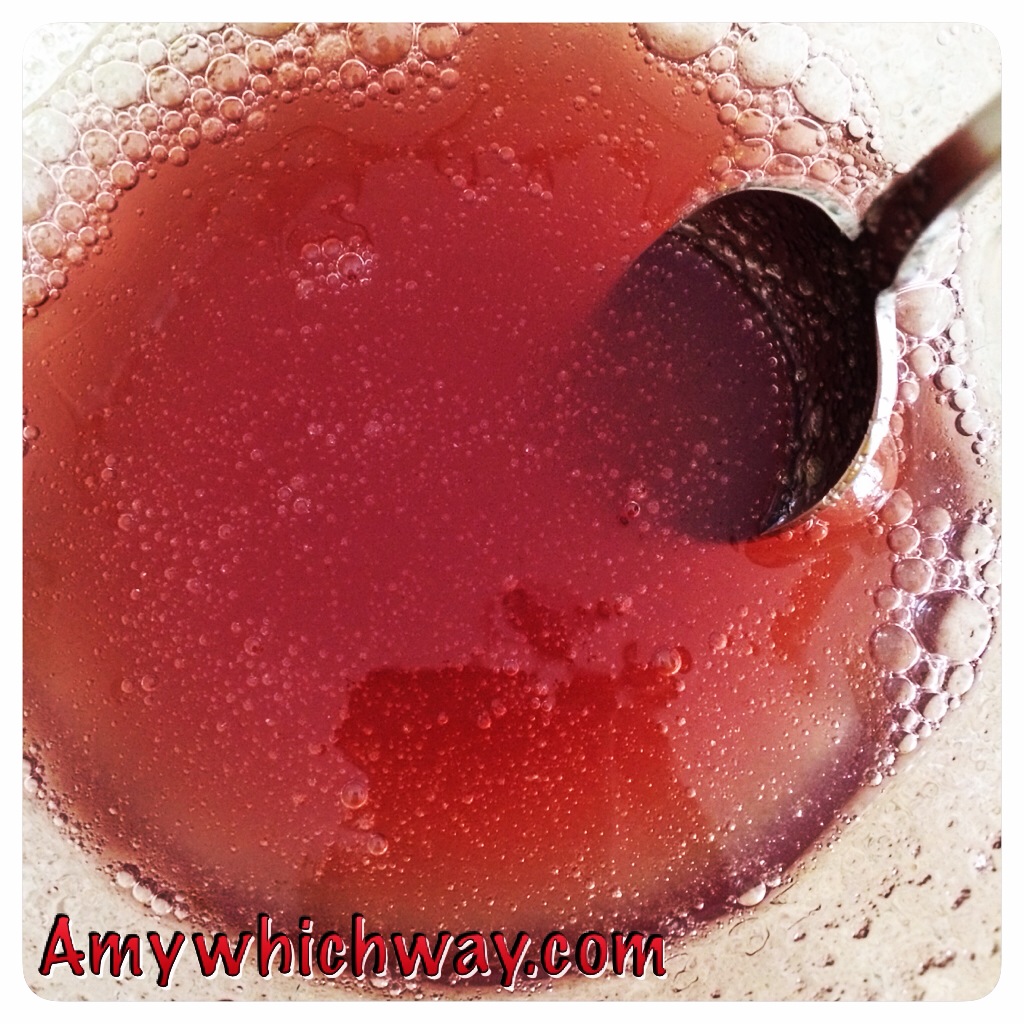
Then stir two gelatin packets into 1 cup of fruit juice. The recipe didn't specify a type of juice, so I picked a red colored juice and I knew my almost three year old daughter wouldn't touch the tartness of cranberry juice. I used Cherry juice, but if you read the label it's actually a blend of apple, pear and cherry, so I thought it would be sweet enough.

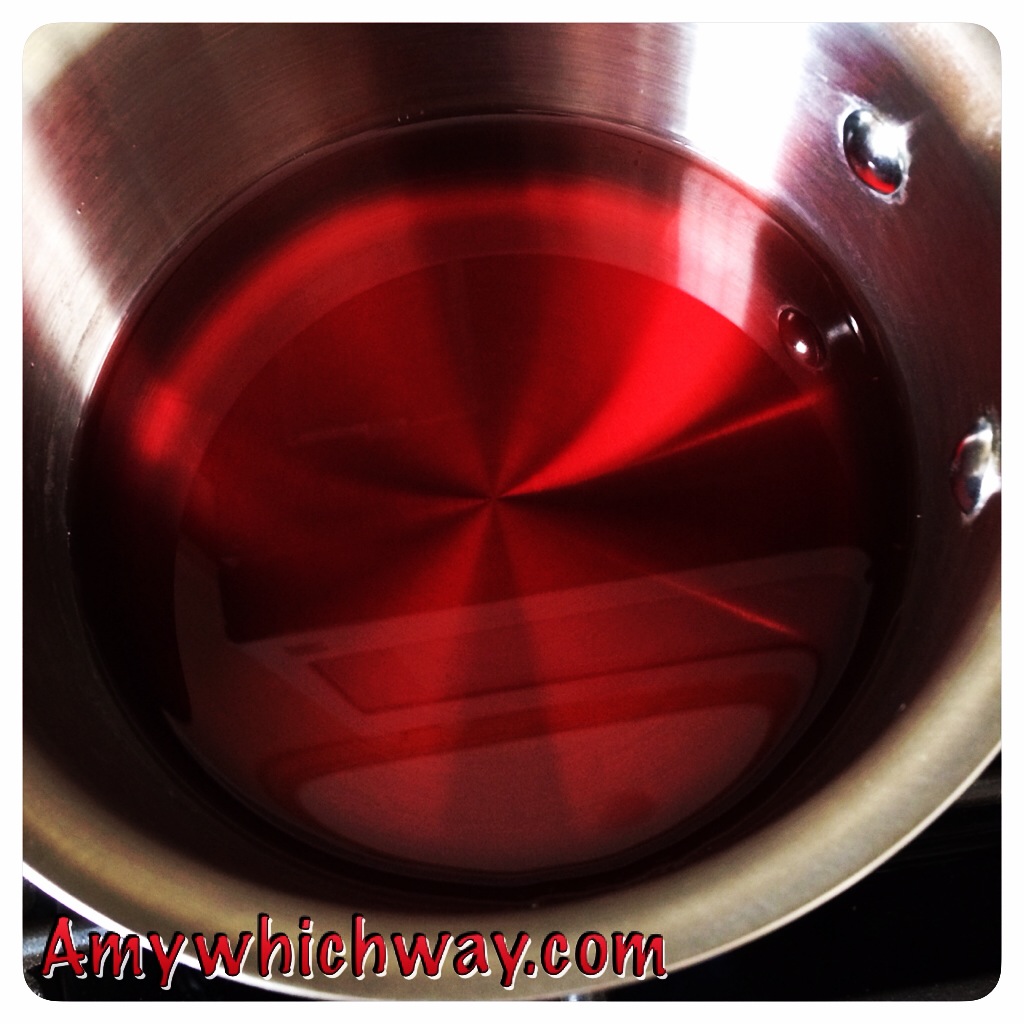
In a small saucepan, heat 2 more cups of juice on low heat until it is hot.

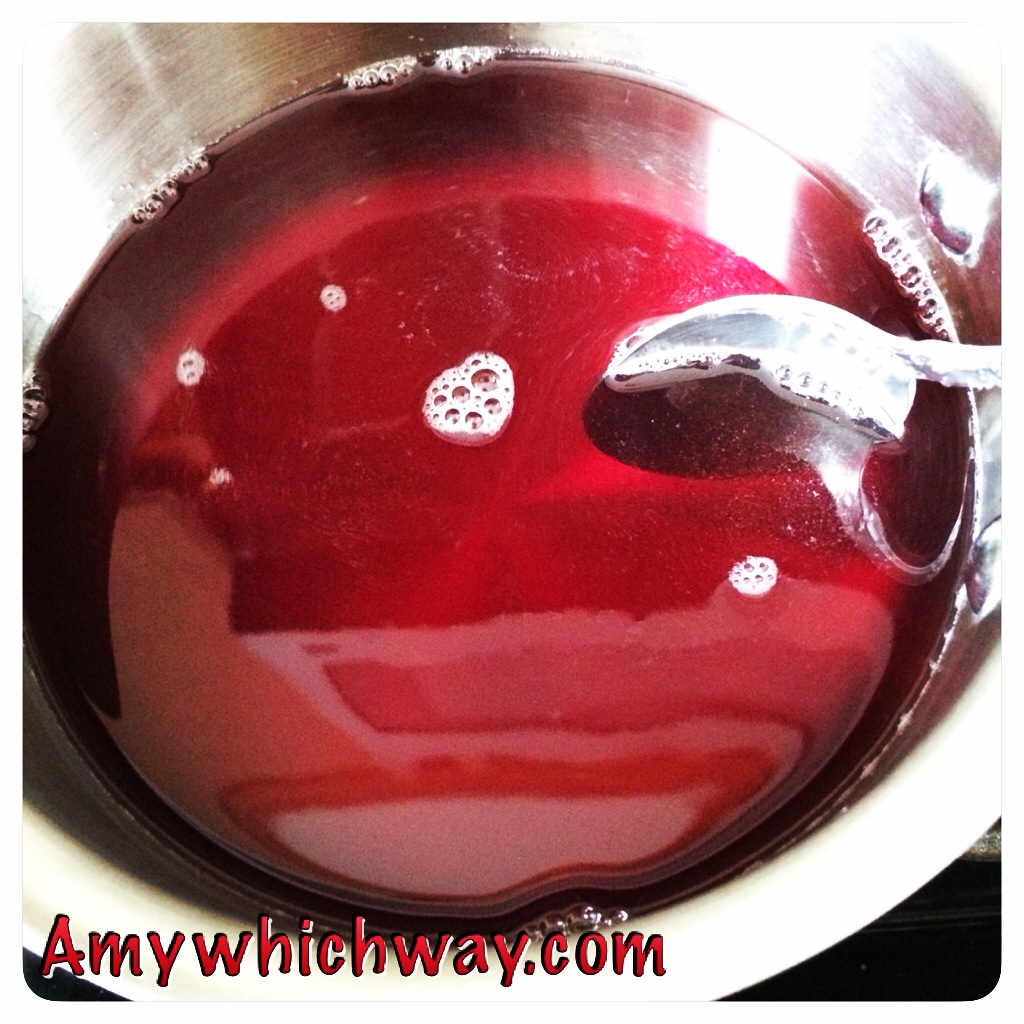
Next, turn off the heat and stir in the gelatin mixture. If you don't want to add the Greek yogurt, you can then pour your mixture straight into your lightly greased 8 x 8 glass dish, but I wanted a little more protein in my snack. I transferred my juice/gelatin mixture back to my large measuring cup and let it cool for about 5 minutes.

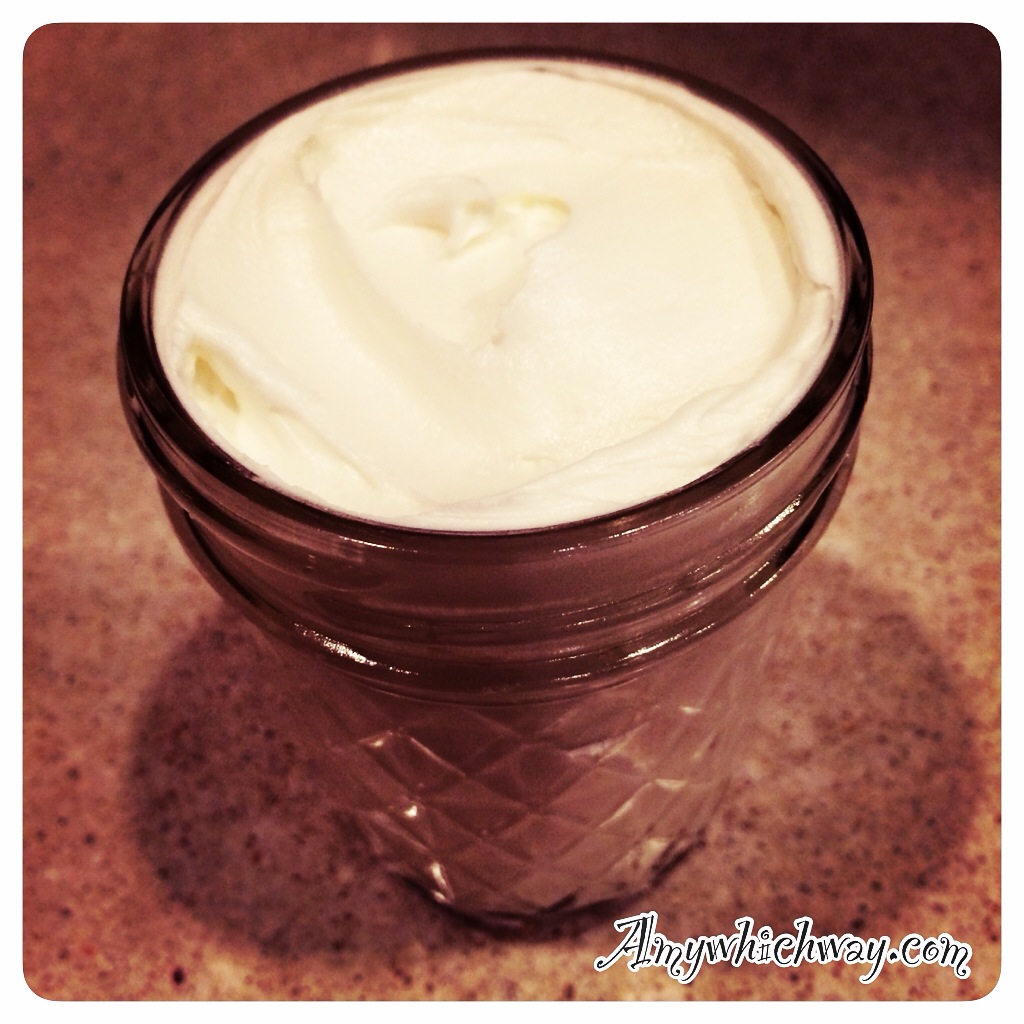
Next, measure out 1/2 cup of Vanilla-flavored Greek yogurt.

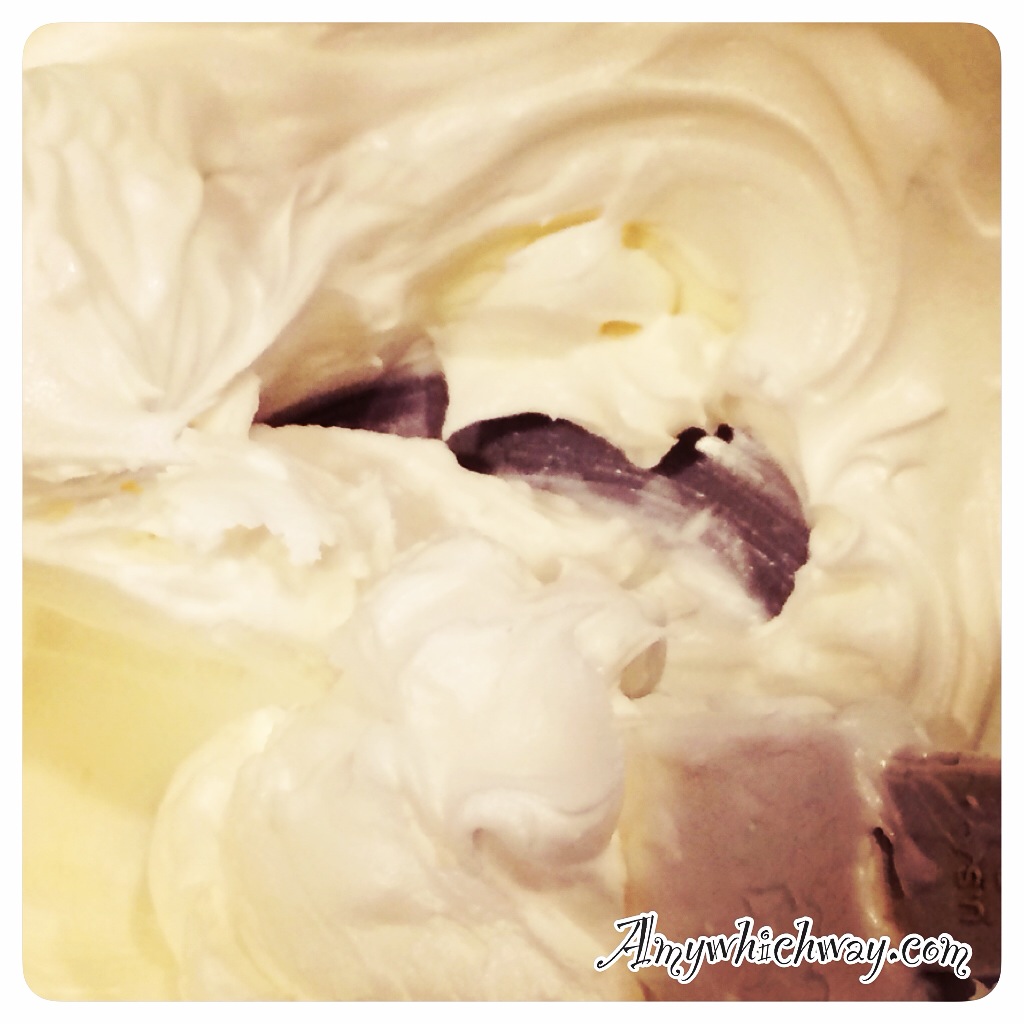
After your mixture cools slightly, then whisk in yogurt.

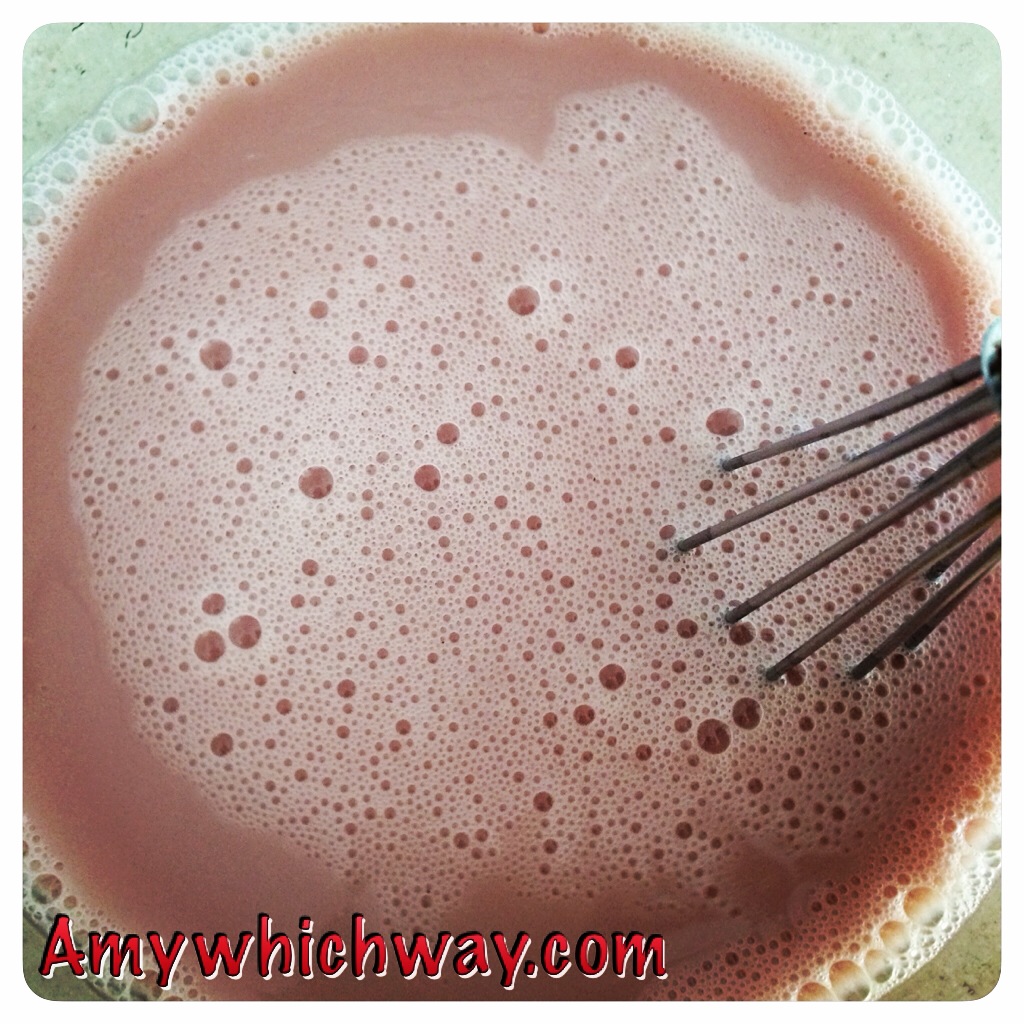
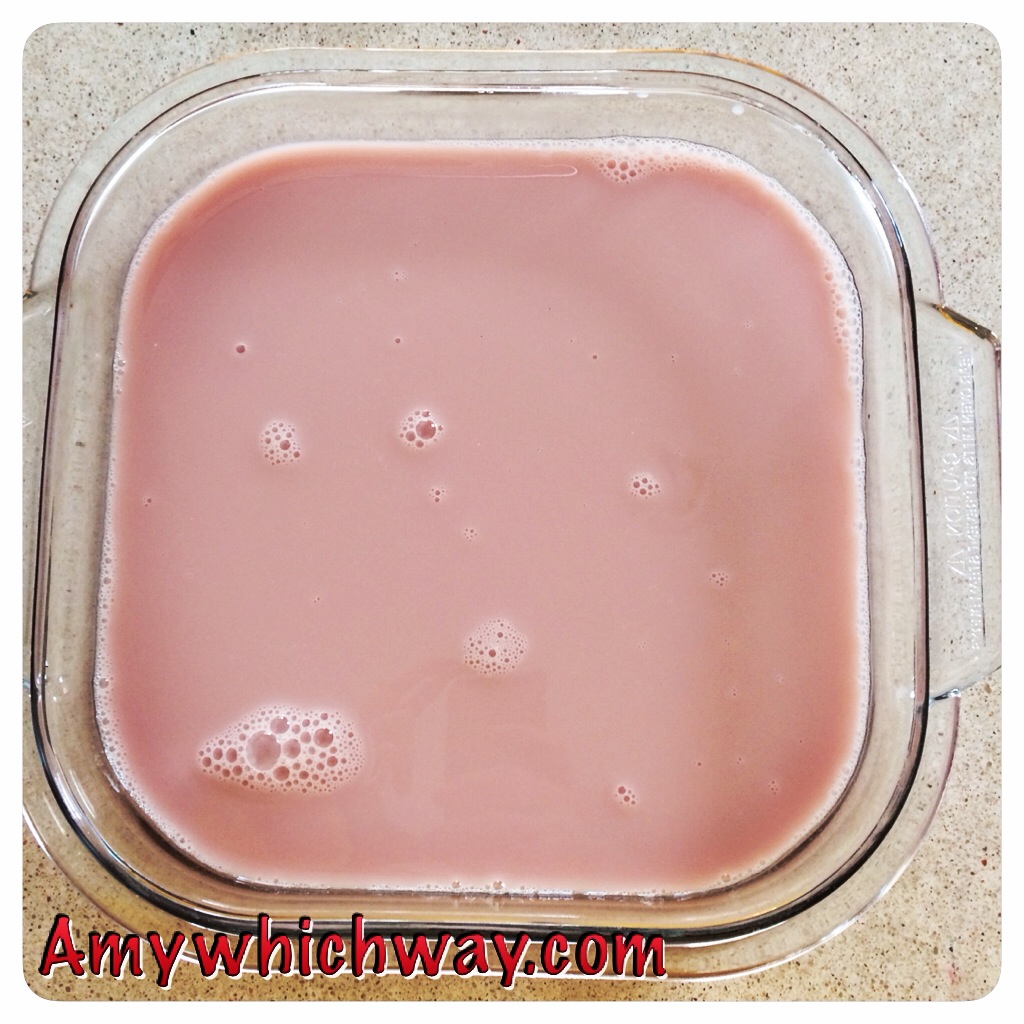
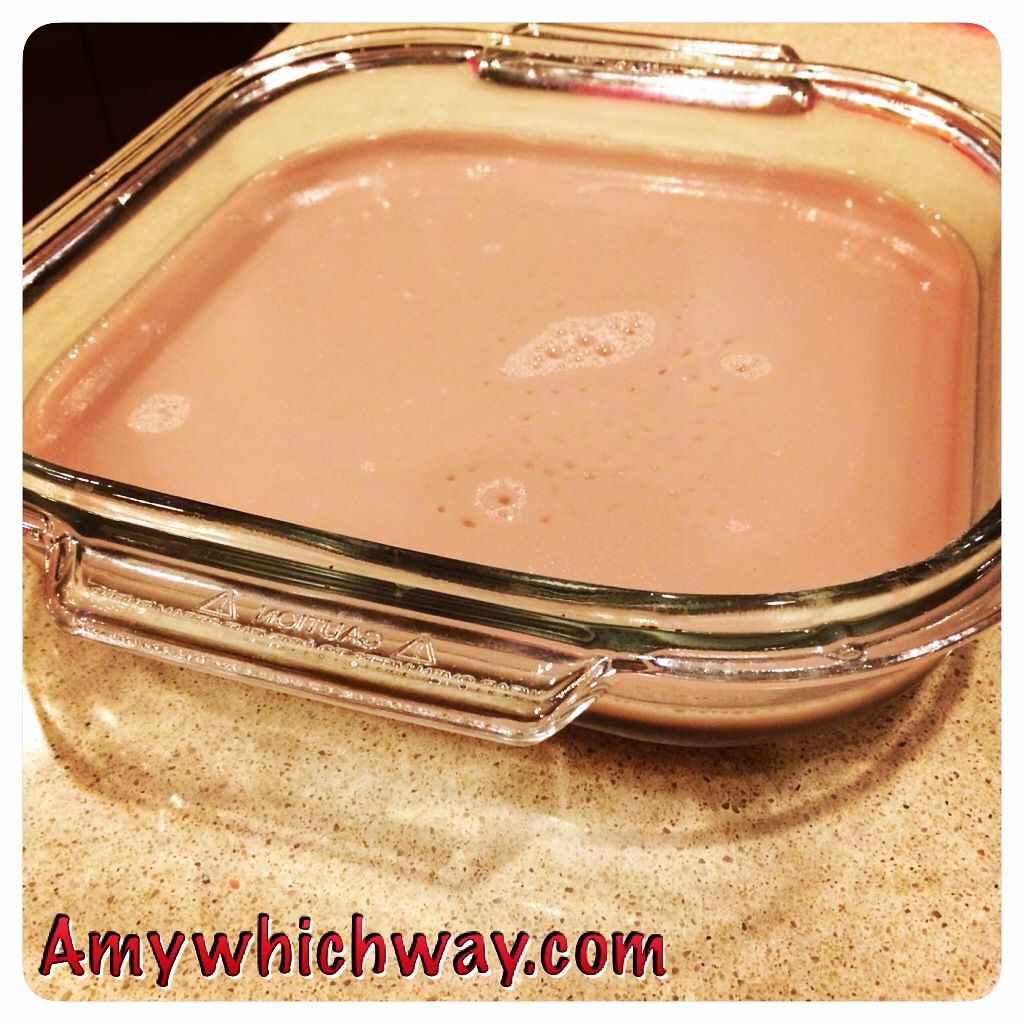
It changed the color of juice to a not-so-pretty shade of pink, but I think I was the only one who really noticed or cared about that. Then I poured the gelatin mixture into my glass dish.

After placing the glass dish in the refrigerator for at least 6 hours, they are ready to cut! (You can also leave them overnight if you want to prep them at night for a lunchtime snack). We had ours as an after dinner dessert.

Next, I rubbed my heart-shaped cookie cutter with olive oil and cut out the gelatin hearts.

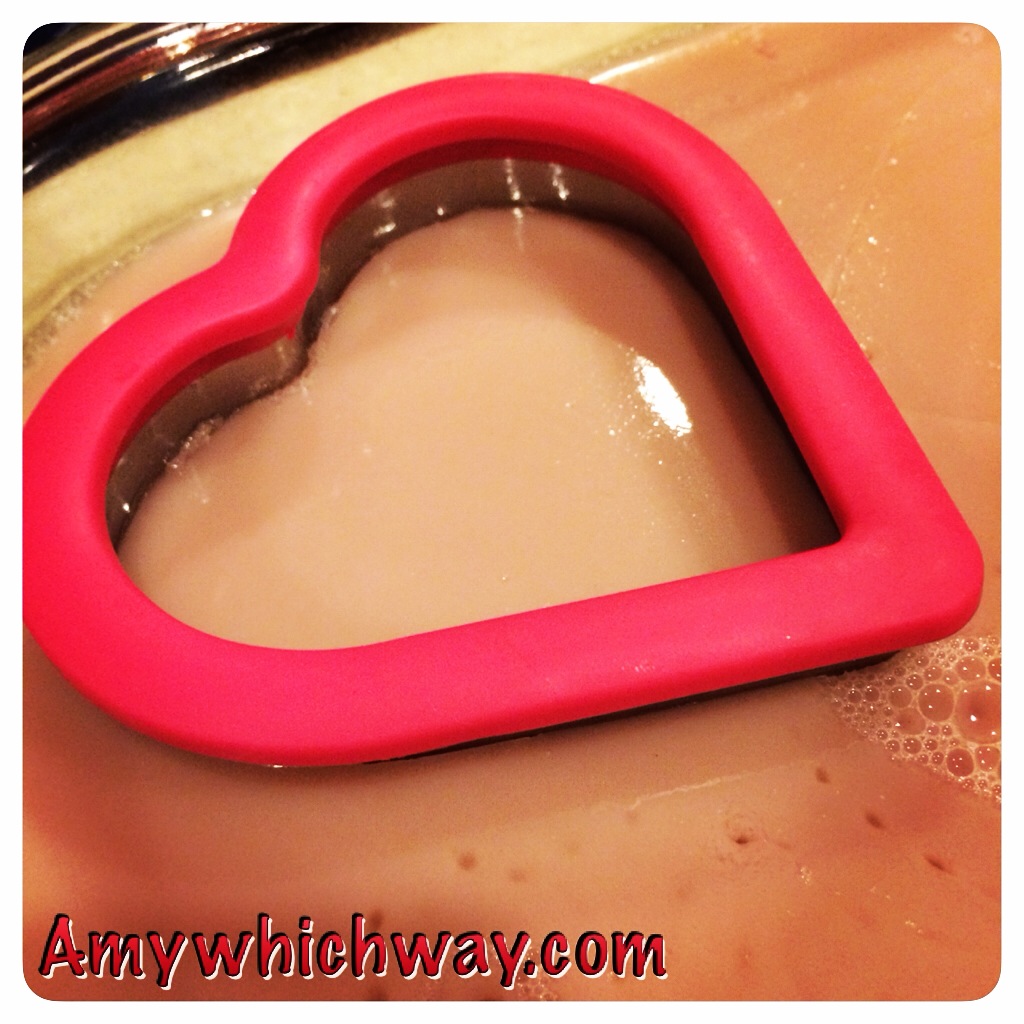
Lastly, I carefully removed the gelatin hearts from the dish using a spatula. My cookie cutter was rather large so we only made 4, but my son and daughter enjoyed eating the scraps just as much as the hearts.

I will definitely be using this recipe for other holidays and fun treats using different colored juices and other shaped cookie cutters. Homemade gelatin is a fun, easy, different kind of snack!

How Many is 100?

Although it feels like we will never get here (with all the snow days we've been having lately), the 100th day of school is just around the corner. We started school in mid-August, so if you started after Labor Day, don't worry you'll be there before you know it. I know, some of you are thinking, big deal, it's not the end of the school year or anything (although every year I have one or two little kindergarteners that think they'll be moving on to 1st grade on day 101). But in all seriousness, the 100th day of Kindergarten is a big, hairy deal. One of our Virginia State Standards and a Common Core Standard in Kindergarten is to count by 1s and 10s to 100.

Each day of Kindergarten begins with a 10-15 minute calendar lesson, which includes counting the days of school. When we get to day 100, we celebrate all we've learned so far during the school year, especially counting to 100. We've been studying the hundreds chart and learning about number patterns for skip counting by 5s and 10s in math for the past couple of weeks, so for practice, we send home an assignment for each Kindergartener to bring in collection of 100 of the same small item in a quart sized Ziploc bag labeled with his/her name. On the 100th Day of School each child shares his/her 100 items with the class and we compare what different collections of 100 items look like. Students usually bring in small items such as marshmallows, pennies, macaroni noodles, etc. This year since my son is in Kindergarten, I was on the at-home side of this project. So, I thought, I'd share how I got him to count a collection 100 Lego's.

First of all, not all students can count to 100 by this point in the year. Yes, we've been counting the days of school since the beginning of the year, and many students are able to count to 100. However, we all learn in different ways and at different rates, so some of my students are just not there yet. It's also really hard for a 5 or 6 year old to count 100 objects without losing track. Most kiddos at this point have 1-1 correspondence with counting objects to 20 and those that can count to 100 are rote counting (counting based on memorization through repeated practice). All students can at least count to 10 and 10 is an easy number to keep up with, therefore, when trying to count 100 objects, I strongly recommend grouping objects by 10s to count them. Also, it's easiest to get little ones to group objects when they have a defined space. So, before I had my son start counting, I counted out 100 Lego's myself and placed them in a small plastic container.

Next, I drew 10 circles on a large sheet of easel paper, since 10 groups of 10 is 100. The circles provided him with clear boundaries for each group.

Then, I gave the hard work to my son. I told him we had to count out 100 Lego's for his homework project. So, I said, "We are going to make this easy by counting to 100 by 10s. Can you count and put 10 Lego's in each circle?" He counted out 10 Lego's for the first circle, then being the 5-year-old boy that he is, my son said, "So, do I just put a handful in each one?" I guess he thought this was going to be too time consuming for him, so he would try to figure out a short cut. I told him we had to have exactly 100 and although he could put a "handful" in each circle, he was going to have to count to make sure that he had 10 in each circle. He dutifully put a small handful in each circle and then touched and counted each Lego to make sure he had 10 before moving on to the next circle.

After, he finished filling in all of the 10 circles with 10 Lego's, I asked my son to go back and count by 10's to make sure we had 100. Of course, he perfectly touched and counted each group by 10s to 100. "10, 20, 30, 40, 50, 60, 70, 80, 90, 100."

Then, I pulled out the quart sized Ziploc baggie and told him we have to double check our answer and count each handful of 10 as we place it in the bag.

Another, perfect count. We definitely have 100 Lego's in our bag. My son and my students will be comparing collections of 100 items at school, so if you are completing this activity at home, I highly recommend counting 100 of 2-3 items and placing them in containers that are the same, so that you can compare what 100 looks like. For example, 100 Lego's looks much different than 100 grains of rice. This also helps your little one not only practice skip counting, but you're also activating other skills that will help with estimation and comparing sizes and numbers in the future.

Happy counting!

Homemade Organic Hand Cream

I have a love/hate relationship with Winter. On the one hand, Winter can be beautiful. Falling snow, Christmas lights and decorations, Snow Days, and warm, cozy fires are just a few of my favorite things. However, Winter can be gray, cold and raw. I don't enjoy being cold and I'm typically very unmotivated during the cold Winter months of January and February. I call it my hibernation period. And along with the cold comes dry, chapped skin. It's very unattractive, sometimes painful, and downright annoying.

Being a mom and a teacher, I wash my hands about a hundred times each day, and I rarely use lotion after washing. I also don't typically wear gloves when performing daily household tasks like washing dishes or wiping down counter tops with antibacterial wipes. Therefore, my hands turn into dry, rough sandpaper. I call them my alligator hands. Recently I was changing my two-year old into her pajamas and she said, "Ouch Mama you scatch me wif you nail." I wasn't wearing my rings and my nails are typically super short, so yes, it was my dry scratchy skin. Seriously, I have a problem.

Coupling my crazy dry skin with my new found love of homemade items, you can imagine how excited I was when I found found the How to make luxurious body butter with just three ingredients by Hens and Honey. I was searching around Pinterest, one of my favorite pastimes, looking for a homemade gift idea for my kiddo's teachers and a couple friends and I stumbled upon this gem.

In recent years, I've become more interested in products that are free of harmful chemicals such as phlyates, parabens, and sulfates. I've become a more conscious consumer, reading labels before purchasing items and trying to cut back on processed foods. I still have a long way to go to, but reading labels is quite an eye opener. You wouldn't believe the label on Bath and Body Works scented lotions. When I saw this body butter recipe I was ready to try it out and upon reading the post on Hens and Honey, I was even more determined to make a product that I could share with others and find a use for myself. And the best part is, I know exactly what's in it and can pronounce each item. Does it take a little more time to make your own body butter? Of course, but to me the peace of mind is worth it.

I followed Hens and Honey's three ingredient recipe. I call it Hand Cream instead of body butter, because I can't really imagine slathering it all over my body, although you could if you wanted to. First you need coconut oil, cocoa butter and peppermint essential oil.

Coconut oil is pretty readily available in any grocery store. Cocoa butter, I'm talking real cocoa butter, not the lotion kind you can buy in the store. It's a solid and you have to break it up with a butter knife to get it out of the container.

Hens and Honey got her cocoa butter on Amazon and since I'm a Prime member, I went ahead and followed her lead. Now, I'm sure you could find it in a store that sells natural products, but that's just a hunch. I went ahead and got the peppermint oil on Amazon as well. You can use another scent if you're not keen on peppermint or if you already have another essential oil, but keep in mind that the coconut oil has a slight coconut scent and the cocoa butter has a chocolaty smell so you need something somewhat complimentary. I chose peppermint because I thought it was Christmas appropriate for gifts. 

First, measure out one cup each of coconut oil and cocoa butter.

Next, heat the cocoa butter and coconut oil in a saucepan on low until it is a liquid.

After heating, cool the mixture until it is a semi-solid. I transferred the liquid into a room temperature stainless steel mixing bowl and placed it in the refrigerator for about an hour or so. Really, I gave my kids baths and went through the bedtime routine and then the mixture was ready. Here's a picture of me sticking my finger in the cooled mixture to give you an idea of the texture. You want the consistency of cooled bacon grease. Yum, right?

Now you want to add your essential oil. I added two cap-fulls of peppermint oil. After adding the oil, you want to whip the mixture in a stand mixer until it's a whipped cream consistency.

It takes a little while 7-10 minutes depending on your mixer and the bowl size.

After whipping, put your hand cream into a container. I used 8 ounce Mason jelly jars, since I was giving my hand cream as gifts.

Each batch makes enough hand cream to fill 2-3 8 ounce jelly jars, depending on how full you make them. I added some raffia and a gift tag before gifting to dress them up a bit.

Also, if you've never worked with coconut oil before, you may want to note that depending on the temperature of where you store your hand cream, it will not keep the whipped consistency. If your hand cream is kept in a cool location it will be more firm and in a warm location will be softer. However, I must say that my house is on the chilly side and I can still easily skim off a small chunk to use and the hand cream quickly smooths into my hands. I've used my fair share of different kinds of hand creams over the years and with regular use, this has to be one of my favorites. But maybe that's because I made it myself!

The Night Before the Tooth Fairy

Well, it finally happened last night, my five-year-old son lost his first tooth. The great milestone into kid-dom. My baby boy has turned into a full-fledged boy kid. His bottom left front tooth has been wiggly for months and ready to be pulled for almost a month. Thank goodness it was wedged in between some secure teeth and my son kept chewing on the side to avoid the discomfort of chewing on the wiggly tooth or it would have been out much sooner. But I had plenty of time to prepare for this momentous occasion by purchasing a brand new tooth pillow (I know, I should have made one) and Natasha Wing's The Night Before the Tooth Fairy

"Today's the day, I get my tooth pulled," my son announced yesterday afternoon. So, my husband popped the tooth right out. At first my son was a little shell shocked by the tooth coming right out and the gaping hole in his mouth. But after we put the tooth in his tooth pillow and talked about the tooth fairy coming he became more excited--although I did have to explain that the tooth fairy typically brought money, not toys, in exchange for a tooth. (As if Santa didn't bring him enough toys recently).

Before bedtime, I read his special new story, The Night Before the Tooth Fairy, which tells about a little boy losing his first tooth. The boy in the story loses his wiggly tooth and places it under his pillow. The boy in the story actually sees the tooth fairy come and take the tooth, which was no problem for my heavy sleeping boy. When the boy wakes in the morning he discovers that the tooth fairy has left him a brand new dollar.

This morning the first thing my son did was check his tooth pillow. The tooth fairy left him a $5 bill! (There seems to be many varying opinions on the going rate for a 1st tooth). I'm sure he won't be getting that much for subsequent teeth. What did my son say about the money? "Mom, be sure you take this to the bank for my account right away so I can save it up!" Perfect!